I still remember the first time I tried poaching eggs with vinegar – it was a disaster. The eggs were overcooked, and the vinegar seemed to do nothing but make the water smell bad. But after some experimentation and research, I discovered that adding a splash of vinegar to the water is actually the secret to perfectly poaching eggs with vinegar, every time. The acidity helps to set the whites faster, resulting in a cleaner, more tender egg. It’s a simple trick, but it makes all the difference.
In this article, I’ll share my no-fuss approach to poaching eggs with vinegar. You’ll learn how to create the perfect environment for your eggs to cook, from the ratio of water to vinegar to the ideal cooking time. I’ll also cover some common mistakes to avoid, so you can achieve stress-free poaching every time. By the end of this guide, you’ll be a pro at poaching eggs with vinegar, and you’ll wonder how you ever managed without this simple yet effective technique.
Table of Contents
Project Overview
Total Time: 10 – 15 minutes
Estimated Cost: $0 – $5
Difficulty Level: Easy
Tools Required
- Slotted Spoon ((for removing egg))
- Timer ((optional))
Supplies & Materials
- Eggs ((1 or more))
- Water ((enough to fill a medium saucepan))
- White Vinegar ((1 – 2 tablespoons))
- Medium Saucepan ((with a heavy bottom))
Step-by-Step Instructions
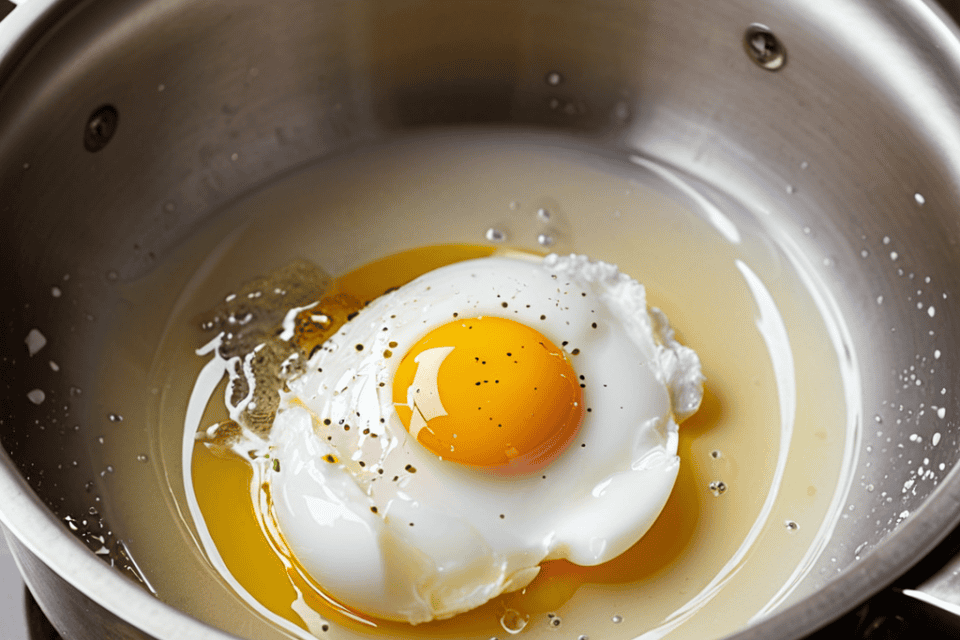
- 1. First, let’s start by cracking the code to poaching eggs with vinegar. Begin by filling a medium-sized saucepan with water, making sure it’s deep enough to cover the egg by about an inch. The water level is crucial, so take your time to get it just right.
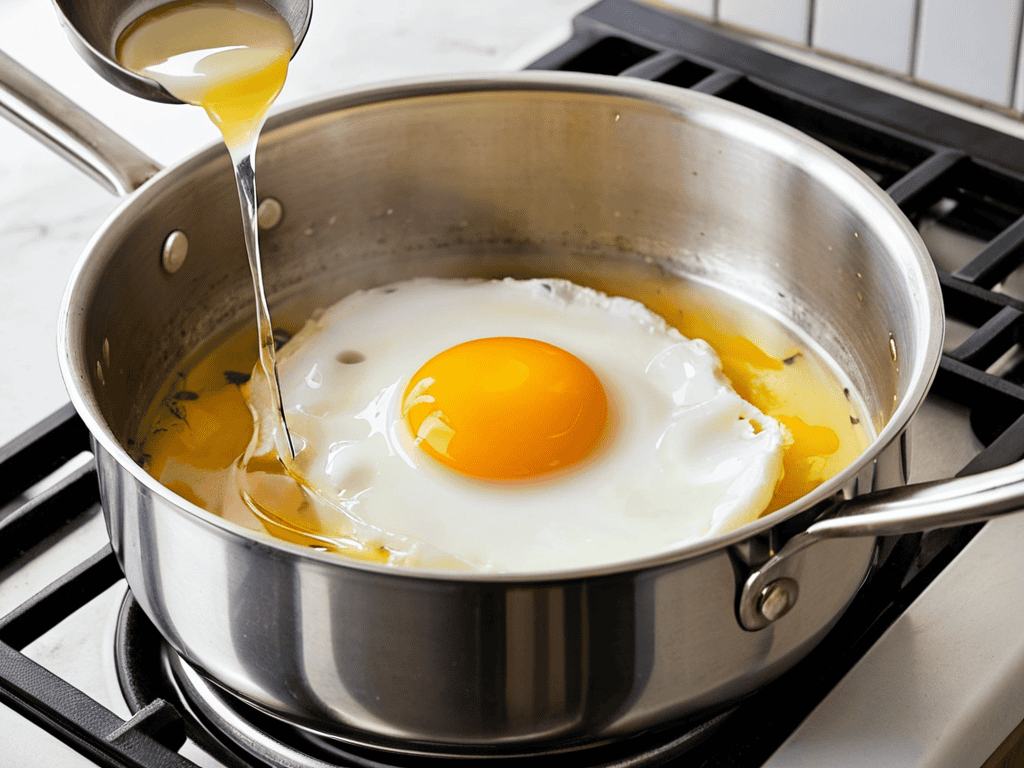
- 2. Next, add a tablespoon or two of vinegar to the water. I like to use white vinegar for this, as it seems to work best. The acidity in the vinegar helps to set the whites of the egg faster, resulting in a nicer texture. Don’t worry, the vinegar won’t affect the taste of your egg.
- 3. Now, place the saucepan over medium heat and bring the water to a simmer. You want to see tiny bubbles rising to the surface, but not a full-on boil. This gentle heat is key to cooking the egg evenly.
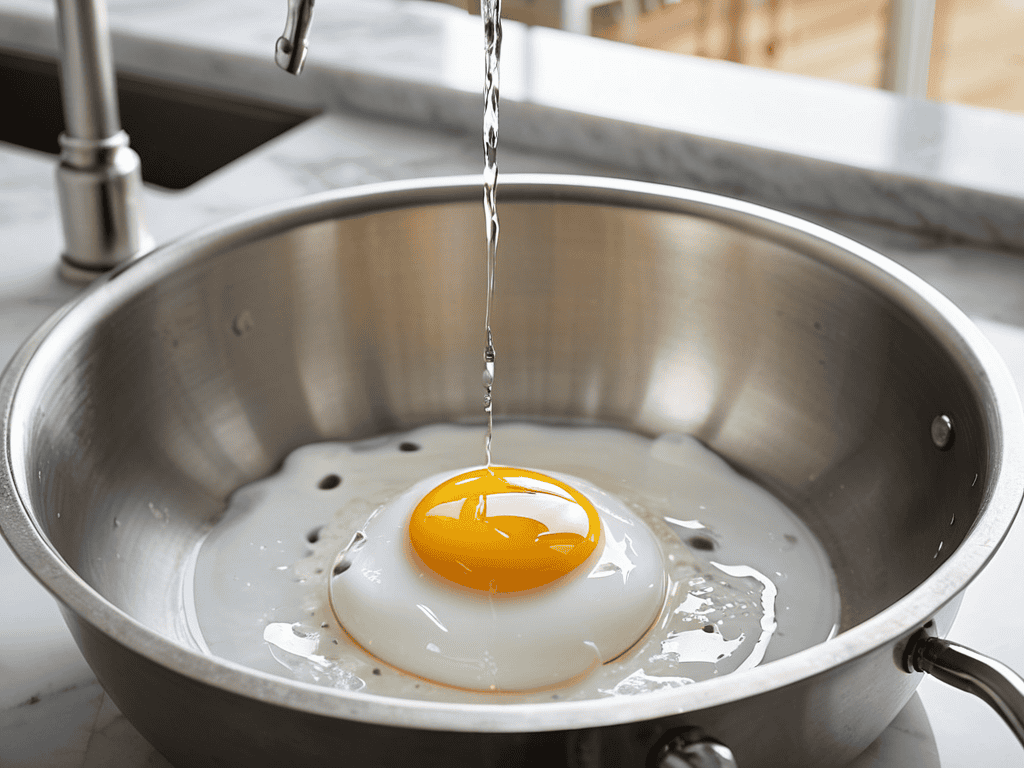
- 4. While the water is heating up, crack an egg into a small bowl or ramekin. This will make it easier to slide the egg into the water without breaking. Make sure there are no shell fragments in the bowl, as these can interfere with the cooking process.
- 5. Once the water has reached the desired temperature, reduce the heat to a low setting and create a whirlpool in the water by stirring it in one direction with a spoon. This will help to keep the egg white from spreading out too much.
- 6. Gently slide the egg from the bowl into the center of the whirlpool. Try to do this as gently as possible, so you don’t disrupt the water too much. You should see the egg start to cook immediately, with the whites setting and the yolks remaining runny.
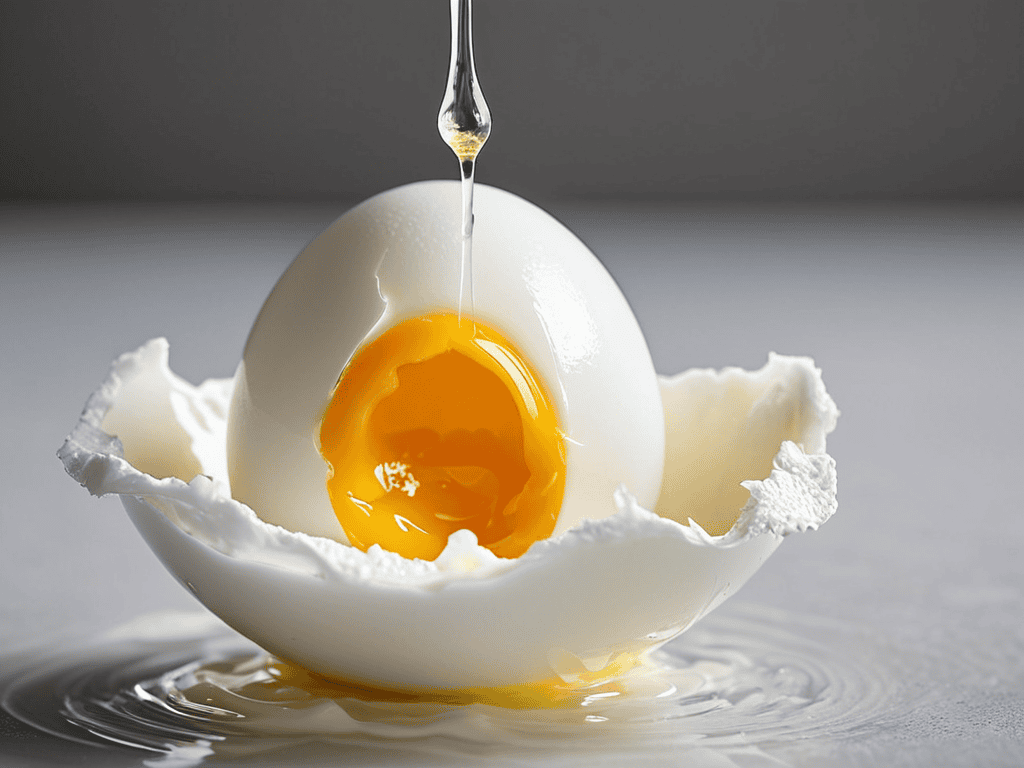
- 7. Let the egg cook for 3-5 minutes, or until the whites are set and the yolks are cooked to your desired doneness. You can use a slotted spoon to check on the egg and remove it from the water when it’s done. Simply lift the spoon to the surface and look at the egg without removing it from the water.
- 8. Finally, use the slotted spoon to remove the egg from the water and drain off any excess water. You can then serve your perfectly poached egg on toast, salad, or however you like. The key is to be patient and not rush the process, as this will result in a better-textured egg.
Mastering Poaching Eggs Vinegar
To truly master the art of poaching eggs, it’s essential to understand the importance of timing and technique. The perfect poach time can vary depending on the size of the egg and personal preference, but a good rule of thumb is to aim for 3-5 minutes. This allows the whites to set and the yolks to remain runny, creating a delicious and creamy texture.
When it comes to egg poaching tools, you don’t need to break the bank on specialized equipment. A simple saucepan and slotted spoon can work wonders. However, if you’re looking to invest in a dedicated egg poacher, there are many affordable options available. The key is to find a tool that makes the process effortless and enjoyable. Experiment with different techniques, such as cracking the egg into a small bowl before adding it to the water, to find what works best for you.
For a delicious and easy breakfast, try incorporating poached eggs into your poached egg breakfast ideas. Top toasted English muffins with a poached egg, spinach, and hollandaise sauce for a twist on the classic eggs Benedict. Alternatively, add a poached egg to a bed of roasted vegetables and whole grain toast for a nutritious and filling start to the day. By mastering the basics of stovetop egg poaching techniques, you’ll be able to create a variety of easy poached egg recipes that are sure to impress.
Cracking Perfect Poach Time
As you continue to refine your egg poaching skills, you may find yourself wondering about the science behind the perfect poach. If you’re looking to dive deeper into the world of cooking and explore new recipes, I highly recommend checking out some online resources that can provide you with a wealth of information on various cooking techniques. For instance, if you’re interested in learning more about the best practices for cooking in different regions, you can visit ficken in sachsen anhalt to discover new ideas and inspiration. By exploring different cooking methods and understanding the importance of using fresh ingredients, you’ll be well on your way to becoming a skilled home cook, and your poached eggs will be just the beginning of a delicious culinary journey.
To achieve the perfect poach, timing is everything. I’ve found that the sweet spot is between 3-5 minutes, depending on the desired doneness. For a runny yolk, aim for 3 minutes, while a firmer yolk will require 4-5 minutes.
In my experience, the key to cracking perfect poach time is to use a timer and observe the egg’s transformation. As the egg cooks, you’ll notice it start to set and the whites become more opaque. By paying attention to these visual cues and adjusting your timing accordingly, you’ll be able to achieve consistently perfect poached eggs.
Essential Egg Poaching Tools
To perfectly poach eggs with vinegar, you’ll need a few essential tools. First, a medium-sized saucepan is a must – it allows for a good water circulation around the egg. Next, a stovetop is necessary for heating the water. You’ll also need a slotted spoon for gently removing the poached eggs from the water. Additionally, a timer will help you keep track of the cooking time, ensuring your eggs are cooked to your desired doneness.
A medium-mesh strainer or a poaching cup can also be useful for keeping the eggs intact while cooking. These tools may seem simple, but they play a crucial role in achieving perfectly poached eggs with vinegar.
Elevating Your Egg Game: 5 Essential Tips for Poaching Eggs with Vinegar
- Use a medium to medium-low heat setting to prevent the water from boiling over and to cook the eggs gently
- Add 1-2 tablespoons of vinegar to the water to help the eggs hold their shape and cook more evenly
- Create a whirlpool in the water by stirring it in one direction with a spoon before gently adding the egg to help it cook symmetrically
- Don’t overcook your eggs – aim for 3-5 minutes of cooking time, depending on the desired level of doneness
- Remove the egg from the water with a slotted spoon and drain off any excess water before serving to prevent a soggy or watery texture
Key Takeaways for Perfectly Poached Eggs
Adding a splash of vinegar to the water is crucial for achieving perfectly poached eggs, as it helps to set the whites faster and keeps them from running all over the place
Mastering the poaching time is essential, and it’s all about finding that sweet spot where the whites are set, and the yolks are still nice and runny – for large eggs, this is usually around 3-4 minutes
Having the right tools, such as a medium-sized saucepan, a lid, and a slotted spoon, can make all the difference in your egg-poaching journey, and don’t forget to use fresh, high-quality eggs for the best results
The Secret to a Perfect Poach
The art of poaching eggs with vinegar is not just about the technique, but about understanding the delicate dance between water, heat, and time – with a splash of patience, anyone can crack the code to a perfectly poached egg, every time.
David Grant
Conclusion
As we’ve explored the world of poaching eggs with vinegar, it’s clear that mastering the technique requires attention to detail and a bit of practice. We’ve covered the essential steps, from cracking the egg into a bowl to cooking it to the perfect doneness. We’ve also discussed the importance of timing and having the right tools, such as a medium-sized pot and a slotted spoon, to make the process smoother. By following these guidelines, you’ll be well on your way to creating delicious, restaurant-quality poached eggs at home.
So, the next time you’re in the kitchen, don’t be afraid to give poaching eggs with vinegar a try. Remember, it’s all about experimenting and finding what works best for you. With patience and practice, you’ll be able to achieve perfectly poached eggs every time. And when you do, you’ll realize that the journey was just as rewarding as the destination – the joy of cooking, the satisfaction of learning something new, and the pleasure of sharing a delicious meal with others.
Frequently Asked Questions
What is the ideal ratio of water to vinegar for poaching eggs?
For perfect poaching, I recommend a ratio of 4 parts water to 1 part vinegar. This balance allows for a gentle cook and helps the eggs hold their shape. Simply add 1 tablespoon of vinegar for every 4 cups of water, and you’re all set for a delicious, stress-free breakfast.
Can I use other types of acid, like lemon juice, instead of vinegar for poaching eggs?
While you can experiment with lemon juice, vinegar’s acidity level is ideal for poaching eggs. Lemon juice might not provide the same consistent results, but feel free to try it and see what works best for you.
How do I know when my poached egg is fully cooked and safe to eat?
To check if your poached egg is fully cooked, lift it out of the water with a slotted spoon and gently cut into the center. If the whites are set and the yolks are cooked to your desired doneness, it’s ready. For safety, aim for a minimum of 5 minutes cooking time to ensure the egg reaches a safe internal temperature.