I still remember the first time I tried to install a WordPress theme for my blog – it was a daunting task that left me feeling frustrated and confused. The truth is, many of us have been led to believe that customizing our WordPress site is a complex process that requires extensive coding knowledge. However, I’m here to tell you that it’s easier than you think. With the right guidance, you can give your site a fresh new look in no time. If you’re struggling to find the perfect theme or feeling overwhelmed by the installation process, you’re not alone. Learning how to install a WordPress theme can seem like a challenge, but it’s actually a straightforward process.
In this article, I’ll walk you through the step-by-step process of installing a WordPress theme, providing you with practical advice and tips to help you get started. You’ll learn how to choose the perfect theme for your site, how to install it, and how to customize it to fit your needs. My goal is to provide you with honest and no-hype guidance, so you can focus on creating amazing content for your site. By the end of this guide, you’ll be equipped with the knowledge and confidence to install a WordPress theme like a pro, and take your site to the next level.
Table of Contents
- Guide Overview: What You'll Need
- Step-by-Step Instructions
- Installing WordPress Themes
- 5 Essential Tips for a Smooth WordPress Theme Installation
- 3 Key Takeaways for a Successful WordPress Theme Installation
- A Word of Wisdom
- Wrapping Up: You're Now a WordPress Theme Master
- Frequently Asked Questions
Guide Overview: What You'll Need

Total Time: 1 hour 15 minutes
Estimated Cost: $0 – $50
Difficulty Level: Easy
Tools Required
- Computer (with internet connection)
- Web Browser (e.g., Google Chrome, Mozilla Firefox)
- FTP Client (optional)
Supplies & Materials
- WordPress Theme Files (downloaded from a trusted source)
- WordPress Account (with admin privileges)
Step-by-Step Instructions
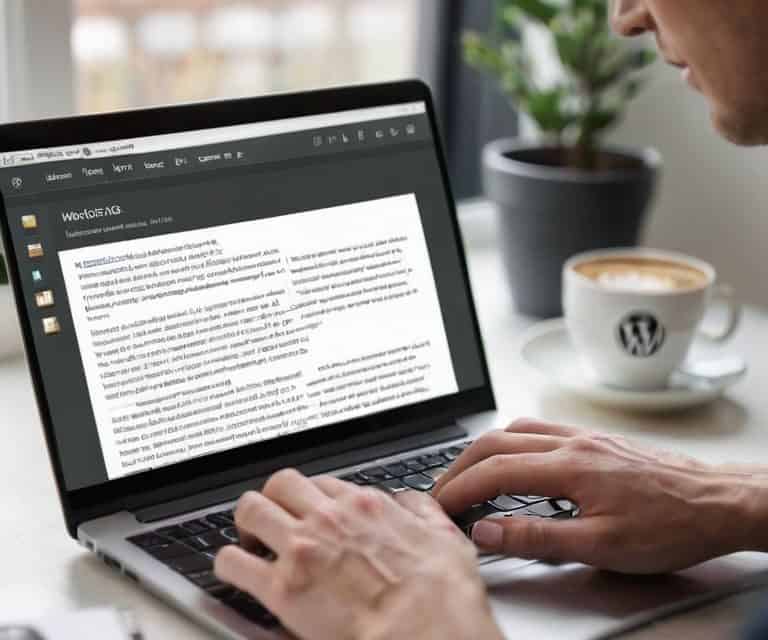
- 1. First, let’s get started with installing a WordPress theme by accessing the administrative dashboard of your WordPress site. To do this, simply type in the URL of your site followed by “/wp-admin” and log in with your username and password. Once you’re in, you’ll see a bunch of options on the left-hand side – don’t worry, we’ll get to those in a bit.
- 2. Next, we need to navigate to the themes section. To do this, click on the “Appearance” tab on the left-hand side, and then click on “Themes”. This will take you to a page where you can manage all of your site’s themes. You might see a few themes already installed, but don’t worry if you don’t recognize them – we’re about to install a new one.
- 3. Now it’s time to add a new theme. Click on the “Add New” button at the top of the page, and then click on “Upload Theme”. This will allow you to upload a theme from your computer. If you’ve already downloaded a theme, you can upload it here – just make sure it’s in a .zip file.
- 4. Once you’ve uploaded your theme, click on the “Install Now” button. WordPress will take care of the rest, and you’ll see a progress bar as the theme is installed. When it’s finished, you’ll see a message saying that the theme has been successfully installed. At this point, your theme is installed, but it’s not yet active.
- 5. To make your new theme active, click on the “Activate” button. This will replace your current theme with the new one, and you’ll see a message saying that the theme has been activated. Don’t worry if your site looks a bit weird at this point – we’ll get to customizing it in a bit.
- 6. Now that your theme is installed and active, let’s take a look at how to customize it. Click on the “Customize” button, and you’ll be taken to a page where you can customize all sorts of things, from the site’s title and tagline to the colors and layout. Take some time to play around with these options and see what you can do.
- 7. Finally, let’s talk about importing demo content. If you’ve purchased a premium theme, it might come with some demo content that you can use to get started. To import this content, click on the “Import Demo Content” button, and follow the prompts. This will give you a head start on getting your site looking like the demo, and you can then customize it from there.
Installing WordPress Themes
When it comes to customizing wordpress theme settings, it’s essential to understand that each theme is unique, with its own set of options and features. As you navigate through the theme’s settings, take your time to explore and understand what each option does. You might find that some themes offer advanced customization options, such as layout control, color schemes, and typography settings. Don’t be afraid to experiment and try out different combinations to find the perfect look for your site.
In addition to customization, it’s also important to consider the wordpress theme compatibility issues that may arise. Ensure that the theme you choose is compatible with your version of WordPress and any plugins you plan to use. You can usually find this information in the theme’s documentation or by contacting the theme author directly. By taking the time to research and prepare, you can avoid potential issues down the line and ensure a smooth wordpress theme installation tutorial experience.
As you work with your new theme, you may also want to explore the wordpress theme demo content that comes with it. This can give you a sense of how the theme is intended to be used and provide inspiration for your own content. Remember to always follow wordpress theme update best practices to keep your site secure and running smoothly. By doing so, you’ll be able to enjoy your new theme and make the most of its features.
Customizing Theme Settings Easily
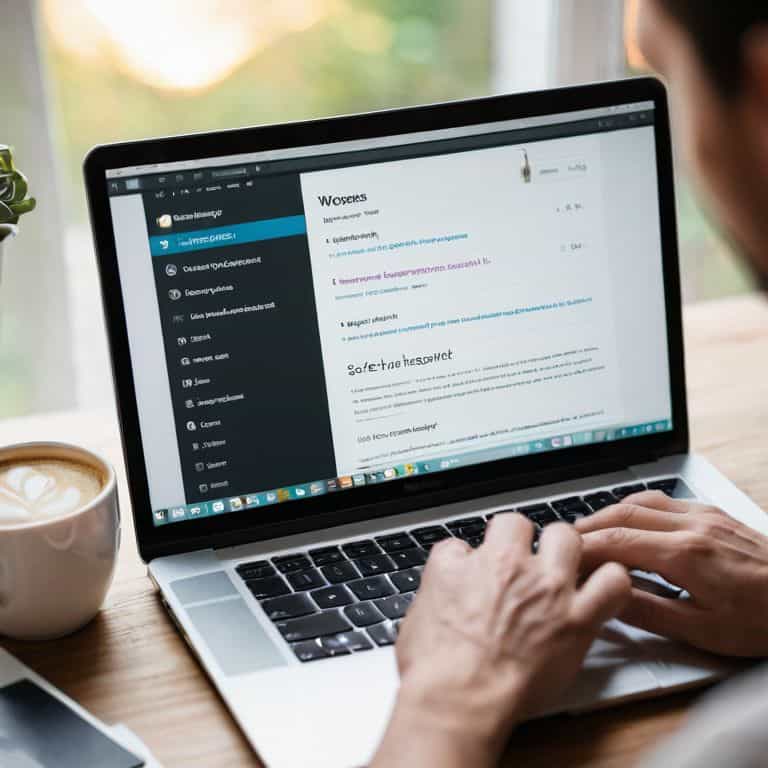
Now that we’ve got our theme installed, let’s make it truly ours. Customizing theme settings is where the fun begins. You can access these settings by navigating to the ‘Themes’ tab in your WordPress admin area and clicking on ‘Customize’ next to your active theme. This will open up a whole new world of possibilities, from changing colors and layouts to adding custom logos and backgrounds.
In this customization dashboard, you’ll find a variety of options to tweak and tailor your site to your heart’s content. Don’t worry if it seems overwhelming at first – just take it one step at a time, and remember, you can always preview your changes before saving them. This way, you can ensure your site looks exactly how you envisioned it, without affecting your live site.
WordPress Theme Installation Tutorial
Now that we’ve covered the basics, let’s dive into a more detailed WordPress theme installation tutorial. This is where things can get a bit tricky, but don’t worry, I’ve got your back. We’ll go through each step, and by the end of it, you’ll be a pro at installing WordPress themes.
To start, make sure you’re logged into your WordPress admin area. From there, click on the “Themes” tab, and then select “Add New.” You can either upload a theme from your computer or search for free themes in the WordPress directory. Once you’ve found the perfect theme, simply click “Install,” and WordPress will take care of the rest.
5 Essential Tips for a Smooth WordPress Theme Installation
- Always backup your website before installing a new theme to prevent data loss
- Choose a theme that is compatible with your version of WordPress and meets your website’s needs
- Read the theme’s documentation and reviews to understand its features and limitations
- Test your website’s functionality and appearance after installing a new theme to catch any errors
- Regularly update your theme to ensure you have the latest security patches and features
3 Key Takeaways for a Successful WordPress Theme Installation
Always access your WordPress admin area to install a new theme, and make sure to click on the ‘Themes’ tab to start the process
Customizing your theme settings is easy and straightforward, allowing you to personalize your site’s appearance and functionality to suit your needs
By following these simple steps and taking the time to explore your theme’s settings, you’ll be able to give your WordPress site a fresh new look and make it stand out from the crowd
A Word of Wisdom
Installing a WordPress theme is not just about giving your site a fresh coat of paint – it’s about unlocking the full potential of your online presence, and with the right guidance, anyone can do it.
David Grant
Wrapping Up: You're Now a WordPress Theme Master
That’s it – you’ve made it through the guide on how to install a WordPress theme! Let’s do a quick recap: we started by accessing the WordPress admin area, then navigated to the ‘Themes’ tab where we easily installed our new theme. We also dove into customizing theme settings, which allows you to personalize your site to fit your unique style and branding. Remember, the key to mastering WordPress is to take it one step at a time and not be afraid to experiment with different themes and settings until you find the perfect fit for your blog.
Now that you’ve successfully installed and customized your WordPress theme, it’s time to think about the bigger picture. Your blog is more than just a collection of posts – it’s a reflection of your personality, interests, and values. Don’t be afraid to get creative and try new things – with the right theme and settings, the possibilities are endless. As you continue on your blogging journey, keep in mind that it’s okay to make mistakes and that learning is a process. You’ve got this, and I’m excited to see what you’ll create!
Frequently Asked Questions
What if my WordPress theme isn't showing up in the themes section after I upload it?
Don’t worry, it’s an easy fix. If your theme isn’t showing up after uploading, try checking that you’ve uploaded the correct file – it should be a .zip file. Also, ensure you’ve clicked the ‘Add New’ button and then ‘Upload Theme’ to select your file. If you’re still having trouble, try logging out and back in to refresh your admin area.
Can I install a WordPress theme on my site if I'm not comfortable with coding or technical stuff?
Don’t worry, you don’t need to be a tech whiz to install a WordPress theme. The process is designed to be user-friendly, and most themes come with straightforward instructions. You can easily install and customize a theme without coding, and I’ll guide you through it in a way that’s easy to understand.
How do I know which WordPress theme is compatible with my site's version and plugins?
To ensure compatibility, check the theme’s documentation or the WordPress theme repository for version and plugin requirements. You can also reach out to the theme developer or check for compatibility badges on the theme’s page. I’ll cover more on theme compatibility in my next lesson, so stay tuned.