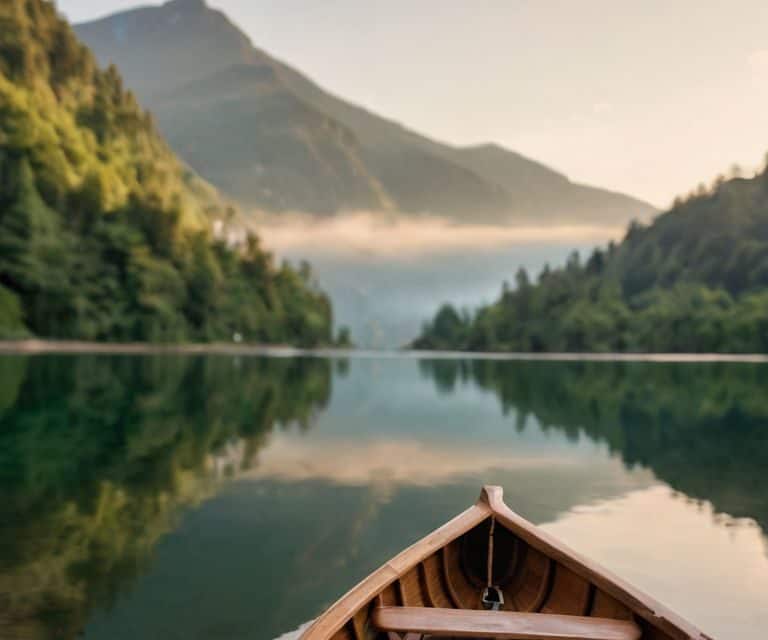
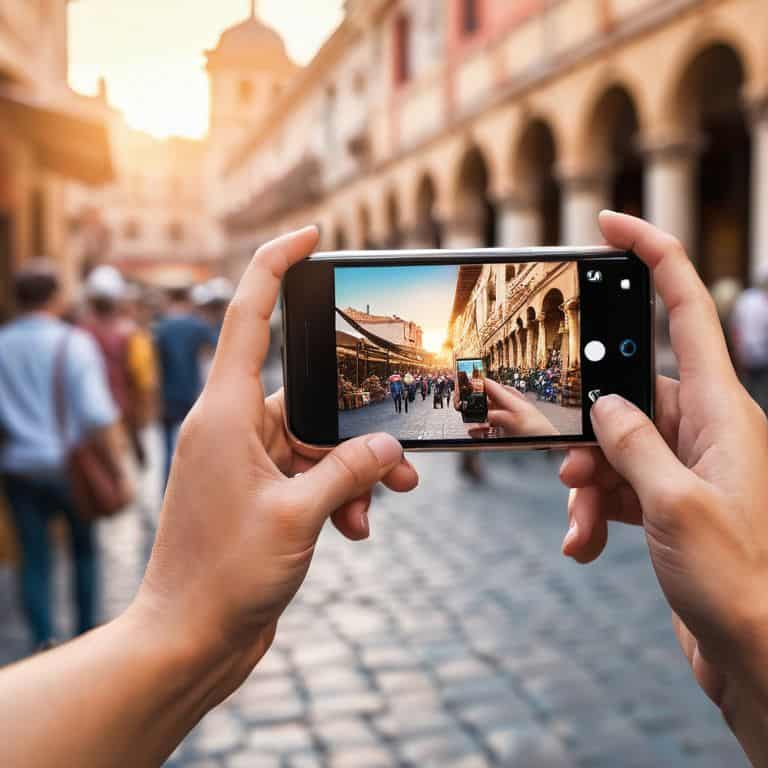
I still remember the moment I realized that my phone was more than just a device for scrolling through social media – it was a powerful tool for capturing the beauty of the world around me. I was wandering through a bustling market in Marrakech, and I stumbled upon a stunning scene: a vendor surrounded by vibrant spices, with the golden light of sunset casting a warm glow over the entire scene. I pulled out my phone and snapped a quick photo, and when I looked back at it later, I was amazed at how well it had turned out. This experience taught me the value of phone photography tips for travelers, and I’ve been hooked ever since.
As someone who’s been on the road for years, I’ve learned that taking great photos with your phone is not just about pointing and shooting – it’s about understanding the nuances of light, composition, and storytelling. In this article, I’ll share my honest and practical advice on how to take your phone photography to the next level, from the best apps to use to the secret tricks for capturing stunning images in even the most challenging environments. Whether you’re a seasoned traveler or just starting out, I’ll give you the no-nonsense tips you need to make the most of your phone’s camera and capture the essence of your travels.
Table of Contents
- Guide Overview: What You'll Need
- Step-by-Step Instructions
- Phone Photography Tips for Travelers
- Snap Like a Pro: 5 Essential Phone Photography Tips for Travelers
- Essential Phone Photography Takeaways for Travelers
- The Raw Truth About Capturing Life on the Go
- Capturing Life on the Go: A Traveler's Phone Photography Journey
- Frequently Asked Questions
Guide Overview: What You'll Need
Total Time: 1 hour 15 minutes
Estimated Cost: $0 – $100
Difficulty Level: Easy
Tools Required
- Smartphone (with a good camera)
- Tripod (optional, for stabilization)
- Extra Battery (or portable charger)
- Memory Cards (for expandable storage)
Supplies & Materials
- Phone Lenses (wide-angle or telephoto, for enhanced capabilities)
- Camera Apps (with features like manual focus and exposure compensation)
- Reflectors (improvised, using 8 inches by 10 inches pieces of white cardboard or similar materials)
- Sunshade (improvised, to reduce glare on the phone screen, using a piece of cardboard or similar material, approximately 6 inches by 4 inches)
Step-by-Step Instructions
- 1. First, let’s talk about understanding your phone’s camera. I know it sounds basic, but trust me, it’s essential to know what you’re working with. Take some time to explore your phone’s camera settings, and get familiar with the different modes and features it offers. For example, do you know how to use the portrait mode, or how to adjust the exposure compensation? It’s amazing how much of a difference these small tweaks can make in the quality of your photos.
- 2. Next, invest in a good phone case that can protect your device from scratches and drops. As a traveler, you’ll likely be using your phone in all sorts of situations, and the last thing you want is to damage it while trying to get that perfect shot. Look for a case that’s rugged, water-resistant, and has a good grip to it. I personally swear by cases with a built-in lens protector – it’s saved my phone’s camera from more than a few scratches.
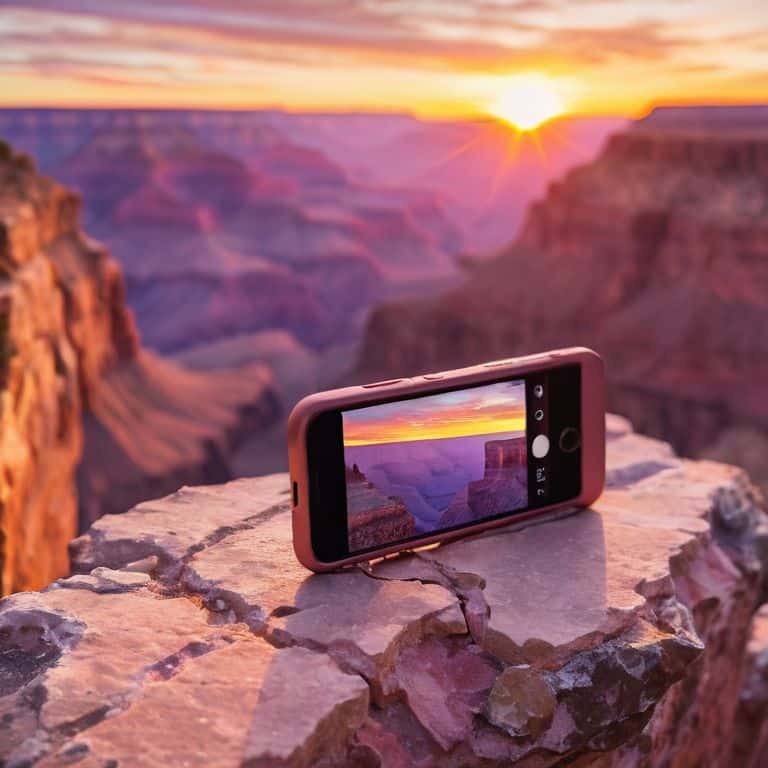
- 3. Now, let’s talk about lighting. Natural light is always the best, so try to take your photos during the golden hour (that’s the hour just before sunset) for a warm, soft glow. Avoid harsh midday sun, as it can create unflattering shadows and highlights. If you’re shooting indoors, look for soft, indirect light – it’s often more flattering than direct light, and can add a nice ambiance to your photos.
- 4. When it comes to composition, keep it simple. Don’t be afraid to get up close and personal with your subject – whether it’s a person, a landmark, or a delicious plate of street food. Experiment with different angles and perspectives, and don’t be afraid to break the rules of traditional photography. Remember, the goal is to capture the essence of the place, not to create a perfect, technically-correct photo.
- 5. Next, edit your photos like a pro. I know what you’re thinking – “I’m not a professional photographer, I don’t know how to edit photos!” But trust me, it’s easier than you think. There are tons of great photo editing apps out there that can help you enhance your photos and give them a unique look. I personally love using apps like VSCO or Snapseed – they offer a range of filters and editing tools that can help you add a professional touch to your photos.
- 6. Now, let’s talk about storing and backing up your photos. As a traveler, you’ll likely be taking hundreds (if not thousands) of photos, and the last thing you want is to lose them all due to a technical glitch or a lost device. Invest in a good cloud storage service, like Google Photos or Dropbox, and make sure to back up your photos regularly. You can also consider investing in a portable hard drive or a memory card – it’s always better to be safe than sorry.
- 7. Finally, practice, practice, practice. The more you use your phone’s camera, the more comfortable you’ll become with its settings and features. Don’t be afraid to experiment and try new things – and don’t worry if not every photo turns out perfectly. The goal is to have fun and capture the essence of your travels, not to create a perfect portfolio of photos. So go out there, get creative, and see what amazing photos you can capture with just your phone!
Phone Photography Tips for Travelers
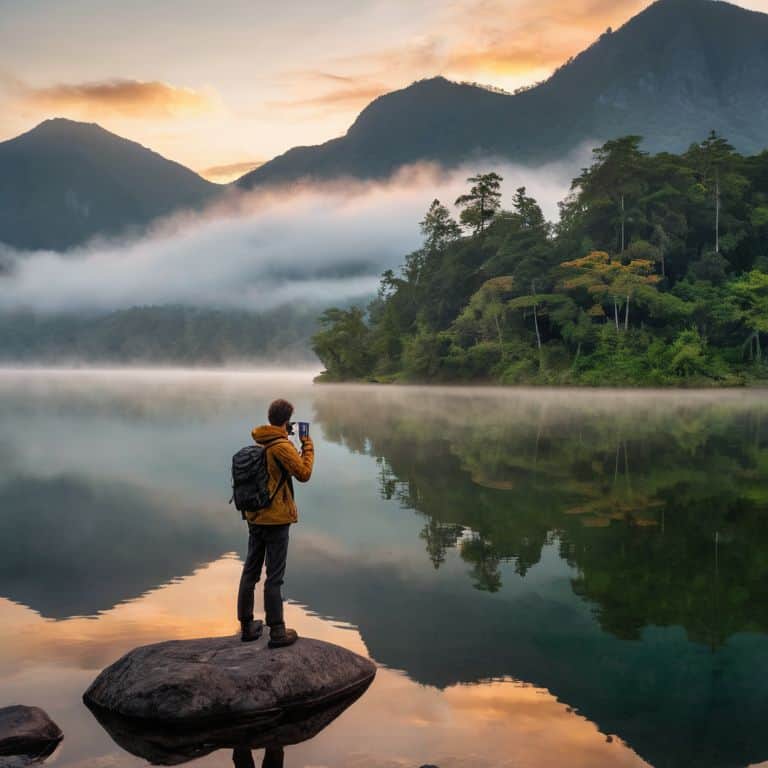
When it comes to capturing stunning landscapes, I’ve found that using a smartphone camera lens can make all the difference. These small, portable lenses can be easily attached to your phone and can greatly improve the quality of your photos. I’ve used them to capture breathtaking sunset shots and sweeping cityscapes, and I can attest to their effectiveness. Plus, they’re a great alternative to carrying around a bulky camera.
In addition to investing in some mobile photography equipment, it’s also important to think about photography for social media. Let’s be real, we all want our travel photos to get lots of likes and comments on Instagram. To increase your chances of going viral, try to capture unique and interesting perspectives. Get low, climb high, or try shooting from a unusual angle. And don’t forget to edit your photos using some travel photography editing software to make them really pop.
For those who enjoy nighttime photography tips, I recommend experimenting with different modes and settings on your phone. Many smartphones have a built-in night mode that can help you capture stunning low-light shots. And if you’re feeling adventurous, try your hand at street photography with smartphones. It’s a great way to capture the energy and vibe of a new city, and can result in some truly amazing photos.
Capture Landscapes With Smartphone Lenses
When it comes to capturing landscapes, smartphone lenses can be a game-changer. I swear by my Moment Wide Lens – it’s been a lifesaver on countless geocaching adventures. With a wider field of view, you can snap stunning vistas without sacrificing image quality. Plus, it’s ridiculously easy to use: just clip it on and you’re good to go. I’ve used it to capture everything from sweeping mountain ranges to bustling cityscapes, and the results are always impressive.
For the best results, try shooting during the golden hour – the soft light will add a warm, ethereal glow to your landscapes. And don’t be afraid to experiment with different angles and compositions. Get low, climb high, or try shooting from a unique vantage point to add some visual interest to your photos. Trust me, it’s worth the extra effort – your Instagram followers will thank you.
Master Nighttime Photography With Mobile Equipment
To capture the essence of a city at night, you don’t need a fancy camera – your phone can do the trick. I’ve found that using a tripod or stabilizer can make all the difference in low-light conditions. Look for one that’s compact and lightweight, perfect for tossing into your backpack. When shooting at night, I also recommend using the manual mode on your phone to adjust the exposure and ISO settings. This will help you avoid blurry or overexposed photos.
Experiment with different angles and compositions to add some drama to your nighttime shots. Don’t be afraid to get creative and try out new things – it’s all part of the fun of phone photography. With a little practice and patience, you can take stunning nighttime photos that will make your friends back home feel like they’re right there with you, wandering the city streets under the stars.
Snap Like a Pro: 5 Essential Phone Photography Tips for Travelers
- Use the Golden Hour to Your Advantage: Capture warm, soft light by shooting during the golden hour, just before sunrise or after sunset
- Get Up Close and Personal with Street Food: Don’t be afraid to get a little messy and take close-up shots of local cuisine to make your followers’ mouths water
- Play with Reflections and Shadows: Add some creativity to your photos by experimenting with reflections in windows, water, or metal surfaces, and don’t underestimate the power of dramatic shadows
- Respect Local Culture and Customs: Remember that you’re a guest in someone else’s home, so be mindful of cultural sensitivities and ask for permission before taking photos of people or religious sites
- Edit Like a Minimalist: Resist the temptation to over-edit, and instead opt for subtle tweaks to brightness, contrast, and saturation to make your photos look natural and authentic
Essential Phone Photography Takeaways for Travelers
Use your phone’s camera to capture authentic, unposed moments, and don’t be afraid to get a little creative with angles and lighting to add depth to your photos
Invest in a portable power bank to keep your phone charged throughout the day, especially when shooting in areas with limited access to power outlets or during extended periods of nighttime photography
Experiment with editing apps to enhance your photos without over-processing them, and consider creating a consistent aesthetic for your travel photography to make your visual storytelling more engaging and recognizable
The Raw Truth About Capturing Life on the Go
The best travel photos aren’t about the gear or the pose, they’re about capturing the unguarded moments that make you feel like you’re still there, long after you’ve left.
Clara Bishop
Capturing Life on the Go: A Traveler's Phone Photography Journey
As I wrap up these phone photography tips for travelers, I want to remind you that it’s all about experimentation and practice. From capturing landscapes with smartphone lenses to mastering nighttime photography with mobile equipment, the key is to keep pushing your creative boundaries. Don’t be afraid to try new things, take risks, and learn from your mistakes. With these tips and a willingness to adapt, you’ll be well on your way to taking stunning photos that truly capture the essence of your travels.
So, the next time you find yourself lost in a new city, remember that your phone is more than just a camera – it’s a tool for storytelling, a window into the raw, unedited beauty of the world around you. Don’t just take photos, tell a story with every snap, and let the journey unfold before your eyes. Happy travels, and don’t forget to share your favorite shots with me!
Frequently Asked Questions
What are some essential phone photography apps for editing and enhancing travel photos?
For editing and enhancing travel photos, I swear by apps like VSCO, Lightroom, and Snapseed. They offer a range of filters and tools to tweak your shots without making them look overly processed. I also use TouchRetouch to remove pesky power lines or tourists from my frames.
How can I effectively use natural light to improve my phone photography while traveling?
Honestly, natural light is your best friend when it comes to phone photography. Shoot during the golden hour, just after sunrise or before sunset, for warm, soft tones. Avoid harsh midday sun and opt for cloudy days for softer shadows. It’s all about timing and patience – trust me, it’s worth waiting for that perfect shot.
What are some common mistakes to avoid when taking photos of people and cultures while traveling with just a smartphone?
When capturing people and cultures, don’t be that tourist who shoots without permission – it’s rude and disrespectful. Instead, take a moment to connect with your subject, ask for consent, and show genuine interest in their story. Your photos will be more authentic, and you’ll avoid unintentionally offending locals.