I still remember the moment I realized that how to edit your travel photos wasn’t just about slapping a filter on them and calling it a day. I was sitting in a small café in Chiang Mai, sipping on a cold coffee and staring at my laptop screen in frustration. My photos from the previous day’s adventure looked dull and lifeless, and I knew I needed to do something to make them pop. That’s when I discovered the power of thoughtful editing, and it’s been a game-changer for my travel blog ever since. Good editing can make all the difference between a photo that’s just okay and one that truly captures the essence of a place.
In this article, I’ll share my no-nonsense approach to editing travel photos, covering everything from the basics of lighting and composition to more advanced techniques like color grading and texture manipulation. I’ll give you practical tips on how to enhance your photos without overdoing it, so they look natural and authentic. Whether you’re a seasoned traveler or just starting out, my goal is to help you develop the skills you need to take your travel photography to the next level and make your photos truly shine. By the end of this guide, you’ll know exactly how to edit your travel photos like a pro, and be able to showcase your adventures in a way that’s both beautiful and honest.
Table of Contents
- Guide Overview: What You'll Need
- Step-by-Step Instructions
- How to Edit Your Travel Photos
- Batch Editing Secrets for Mobile Photo Editing Apps
- Beyond Filters Travel Photography Post Processing
- Raw, Unfiltered, and Totally On-Point: 5 Tips to Edit Your Travel Photos Like a Pro
- Key Takeaways for Editing Your Travel Photos
- The Soul of a Place
- Embracing the Art of Travel Photo Editing
- Frequently Asked Questions
Guide Overview: What You'll Need

Total Time: 1 hour 15 minutes
Estimated Cost: $0 – $20
Difficulty Level: Easy
Tools Required
- Computer (with internet connection)
- Photo Editing Software (e.g., Adobe Lightroom, Photoshop)
Supplies & Materials
- Digital Photos (from your travel trips)
- External Hard Drive (for backup and storage, optional)
Step-by-Step Instructions
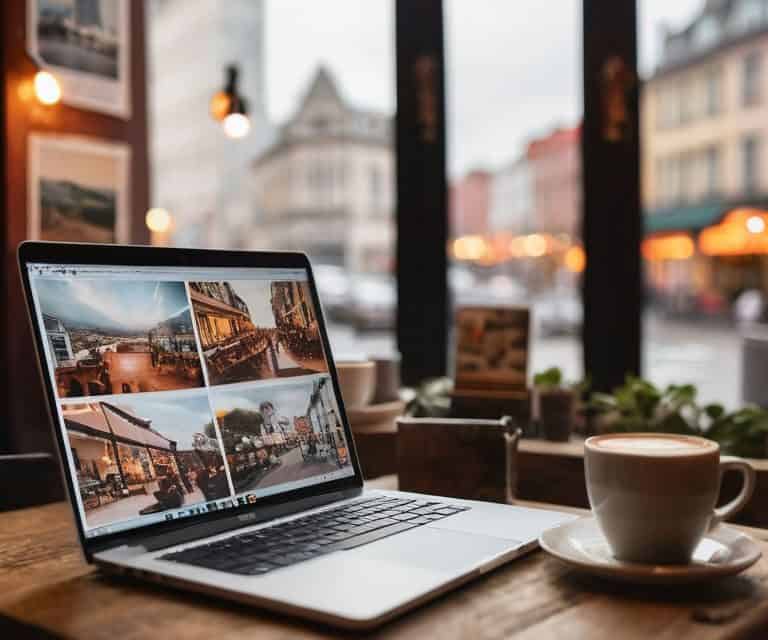
- 1. First, let’s get started with the basics: importing your photos. I like to use Adobe Lightroom for this step, as it allows me to organize and edit my photos in one place. Simply connect your camera or phone to your computer, and import the photos into Lightroom. Make sure to create a new folder for each trip or location to keep things organized.
- 2. Next, it’s time to cull your photos. This is the step where you get to be ruthless and delete any photos that are blurry, poorly composed, or just plain bad. I like to use the “flag” feature in Lightroom to mark my favorite photos, and then delete any that don’t make the cut. This will save you time in the long run, and make the editing process much more efficient.
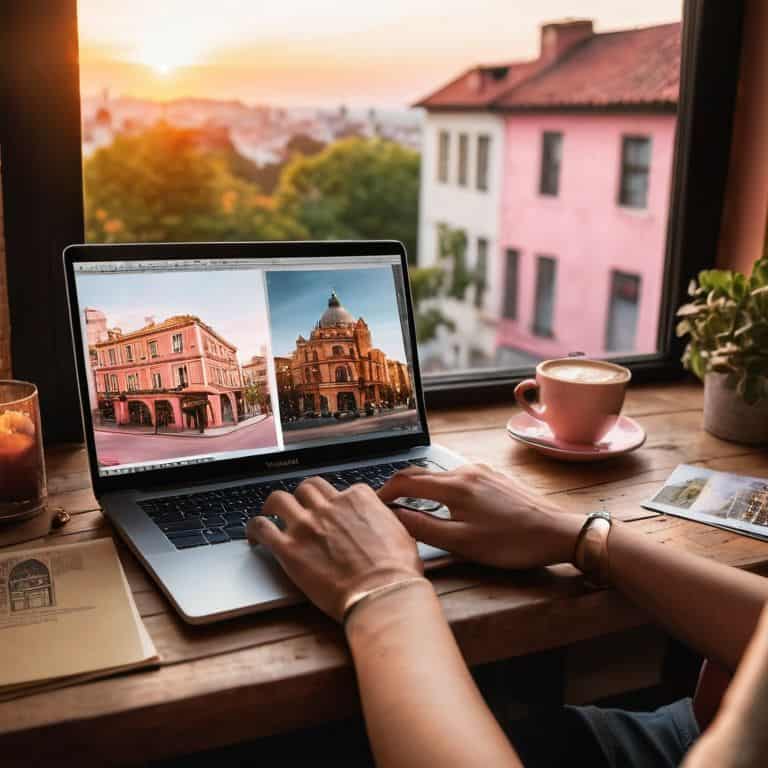
- 3. Now that you have your photos imported and culled, it’s time to start editing. I always start with the exposure settings, as this can make or break the mood of a photo. Adjust the exposure, contrast, and highlights to get a natural-looking image. Don’t be afraid to experiment and try out different settings – it’s all part of the process.
- 4. Once you have the exposure settings dialed in, it’s time to move on to color grading. This is where you can really add some personality to your photos, and make them stand out from the crowd. I like to use the “split-toning” feature in Lightroom to add a warm glow to my photos, but you can experiment with different color palettes to find what works best for you.
- 5. Next up, let’s talk about noise reduction. If you’re shooting in low light, you may notice that your photos are a bit grainy or noisy. Don’t worry, this is an easy fix. Use the noise reduction tool in Lightroom to smooth out the image, and remove any distracting grain or artifacts.
- 6. Now that you’ve edited your photos, it’s time to think about storytelling. What story do you want your photos to tell? What mood or atmosphere do you want to convey? I like to use captions and keywords to add context to my photos, and help tell the story of my travels.
- 7. Finally, it’s time to export your photos. I like to export my photos in a variety of sizes and formats, depending on where I plan to use them. For social media, I export a smaller, compressed version of the photo. For my blog or website, I export a larger, higher-quality version. Make sure to use the “export” feature in Lightroom to save your edited photos, and you’re good to go.
How to Edit Your Travel Photos
When it comes to travel photography post processing, I’ve found that lightroom presets for travel can be a game-changer. These presets can help you achieve a consistent look and feel across all your photos, which is especially important if you’re planning to share them on social media. I’ve experimented with different presets over the years, and I’ve found that a good one can make all the difference in taking your photos from mundane to mesmerizing.
One of my favorite tips for editing photos for social media is to keep it simple. Don’t overdo it with the filters and effects – sometimes, batch editing travel photos with a light touch is the best way to go. This approach will help you maintain the natural beauty of the scene, and it’s also a huge time-saver. Plus, it’s amazing how much of a difference a simple tweak to the exposure or contrast can make.
For those who are new to travel photography, I recommend exploring mobile photo editing apps to find one that works for you. There are so many great options out there, and they can be a huge help when you’re on the go. Whether you’re looking to add a bit of color grading for travel photography or just want to make some quick adjustments, these apps can be a lifesaver.
Batch Editing Secrets for Mobile Photo Editing Apps
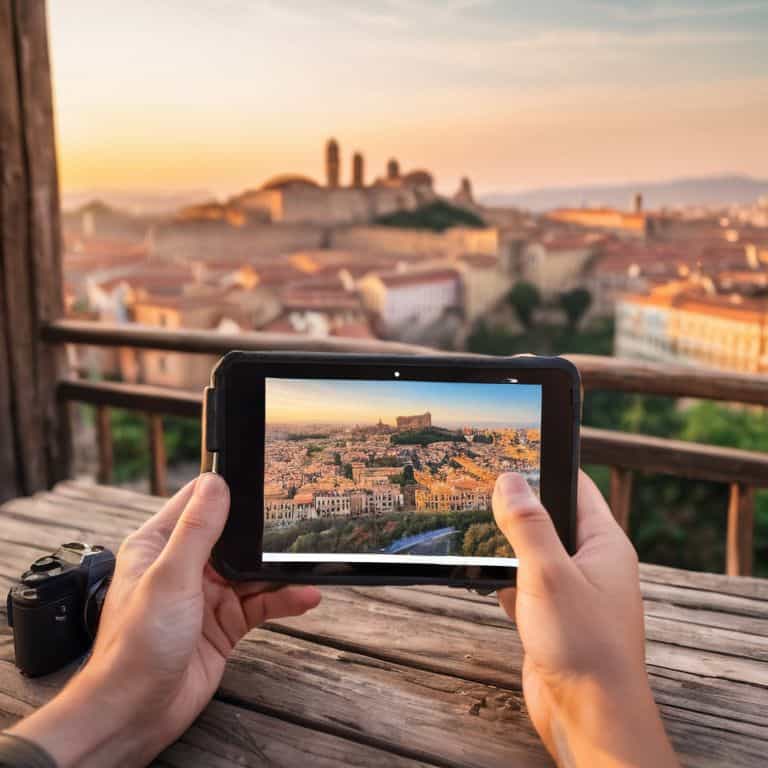
When I’m on the road, I don’t always have access to a laptop, so I’ve learned to rely on mobile photo editing apps to get the job done. One of my favorite tricks is batch editing – it’s a total game-changer for editing multiple photos at once. I use apps like Lightroom Mobile or Snapseed to apply the same edits to a bunch of photos, which saves me so much time and helps maintain a consistent look.
I’ll select a few photos from the same shoot, apply a preset or make some tweaks, and then sync those edits across all the selected photos. It’s amazing how much more cohesive my galleries look when I use this technique. Plus, it’s a great way to enhance the mood and atmosphere of my photos without spending hours editing each one individually.
Beyond Filters Travel Photography Post Processing
When it comes to post-processing, I’m all about keeping it real. I ditch the overused filters and focus on subtle tweaks that enhance the image without losing its authenticity. For me, it’s about finding that sweet spot where the photo still looks like it was taken by a human, not a robot. I adjust the exposure, contrast, and saturation to bring out the natural colors and textures of the scene.
My go-to editing tools are Lightroom and Photoshop – they offer the perfect balance of power and ease of use. I use them to add a bit of depth and dimension to my photos, without overdoing it. The goal is to create an image that draws the viewer in, making them feel like they’re experiencing the place alongside me.
Raw, Unfiltered, and Totally On-Point: 5 Tips to Edit Your Travel Photos Like a Pro
- Dump the overused filters and focus on tweaking the basics: exposure, contrast, and saturation – trust me, it makes a world of difference
- Shoot in RAW if your camera allows it, and learn to love the extra editing flexibility it gives you, even if it means carrying a few more memory cards
- Learn to batch edit on your phone using mobile apps like Lightroom or Snapseed – it’s a game-changer for consistent aesthetics without lugging a laptop
- Play with selective editing: not every part of your photo needs the same level of brightness or saturation, so get cozy with the brush tool and take control
- Don’t overdo it – sometimes the best edit is the one that looks like you didn’t edit at all; keep it real, keep it raw, and let the beauty of the place shine through
Key Takeaways for Editing Your Travel Photos
Remember, editing is not about over-processing, but about enhancing the story your photo tells – so keep it real and subtle
Batch editing is your best friend when it comes to mobile photo editing apps, saving you time and maintaining consistency across your travel photography portfolio
Beyond filters, understanding the basics of exposure, contrast, and color balance will take your travel photos from average to stunning, and make your adventures truly unforgettable
The Soul of a Place
Editing your travel photos isn’t just about making them look pretty, it’s about preserving the essence of a moment and the story it tells – so don’t be afraid to get a little messy and experiment until you find the version that feels true to you.
Clara Bishop
Embracing the Art of Travel Photo Editing
As I wrap up this guide on how to edit your travel photos, I want to summarize the key takeaways: from understanding the importance of natural light to mastering the art of batch editing using mobile apps. It’s all about finding that balance between enhancing your images and keeping them authentic. Don’t be afraid to experiment with different techniques and tools until you find what works best for you. Remember, the goal is to make your photos tell a story, not to create a masterpiece of manipulation.
So, the next time you sit down to edit your travel photos, I hope you’ll remember that it’s not just about fixing flaws, but about bringing your journey to life. Don’t get discouraged if it takes time to develop your editing skills – with practice, you’ll find your own unique style and voice. And when you do, your photos will become more than just pretty pictures; they’ll be a testament to the beauty and wonder of the world, and the incredible experiences you’ve had within it.
Frequently Asked Questions
What are some common mistakes to avoid when editing travel photos to ensure they still look natural?
Honesty time: over-editing is a major mistake. Don’t overdo it on the saturation, contrast, or sharpening – it’s a surefire way to make your travel photos look fake. I’ve learned to keep it subtle, focusing on enhancing the natural colors and textures rather than trying to create a unrealistic masterpiece.
How can I balance editing my travel photos for social media while still keeping the essence of the moment intact?
Honestly, it’s a delicate dance – you want to enhance the image without losing the raw feeling. For me, it’s about subtle tweaks: a pinch of contrast, a dash of saturation, and a whole lot of restraint. I aim to preserve the moment’s essence, rather than creating a overly polished post.
Are there any specific photo editing apps or software that are more suitable for editing travel photos on-the-go?
Honestly, I swear by Adobe Lightroom and VSCO for editing on-the-go. They’re intuitive, powerful, and available on mobile, making them perfect for digital nomads like myself. I also use Snapseed for more detailed tweaks – it’s a game-changer for refining your travel photos without losing their essence.