I still remember the day I decided to create a gallery wall in my living room – I was excited to add some personal touches, but my enthusiasm was quickly dampened by the sticker shock of frame prices. That’s when I realized that having a guide to creating a gallery wall on a budget was essential to bringing my vision to life without breaking the bank. I’ve since learned that it’s possible to achieve a unique and stylish gallery wall without overspending, and I’m eager to share my knowledge with you.
In this article, I’ll cut through the noise and provide you with practical advice on how to create a stunning gallery wall on a budget. You’ll learn how to score amazing frames, choose the perfect layout, and hang your wall with ease. I’ll share my personal tips and tricks for making the process fun and stress-free, so you can enjoy the experience of creating a beautiful space that reflects your personality. By the end of this guide, you’ll be equipped with the knowledge and confidence to create a gallery wall that tells your story, without sacrificing your savings.
Table of Contents
Guide Overview: What You'll Need
Total Time: 2 hours 30 minutes
Estimated Cost: $20 – $50
Difficulty Level: Easy
Tools Required
- Level (to ensure straight hanging)
- Pencil (for marking wall)
- Measuring Tape (for measuring frames and wall space)
- Hammer (for hanging frames)
- Nails or Hanging Hooks (for securing frames to wall)
Supplies & Materials
- Frames (various sizes and styles)
- Frame Hanging Kits (including nails, screws, or adhesive strips)
- Wall Putty (for filling any holes or gaps)
- Paint or Touch-up (to match wall color if necessary)
- Ruler or Straightedge (for drawing straight lines)
- Paper or Cardboard (for creating a template or mockup)
Step-by-Step Instructions
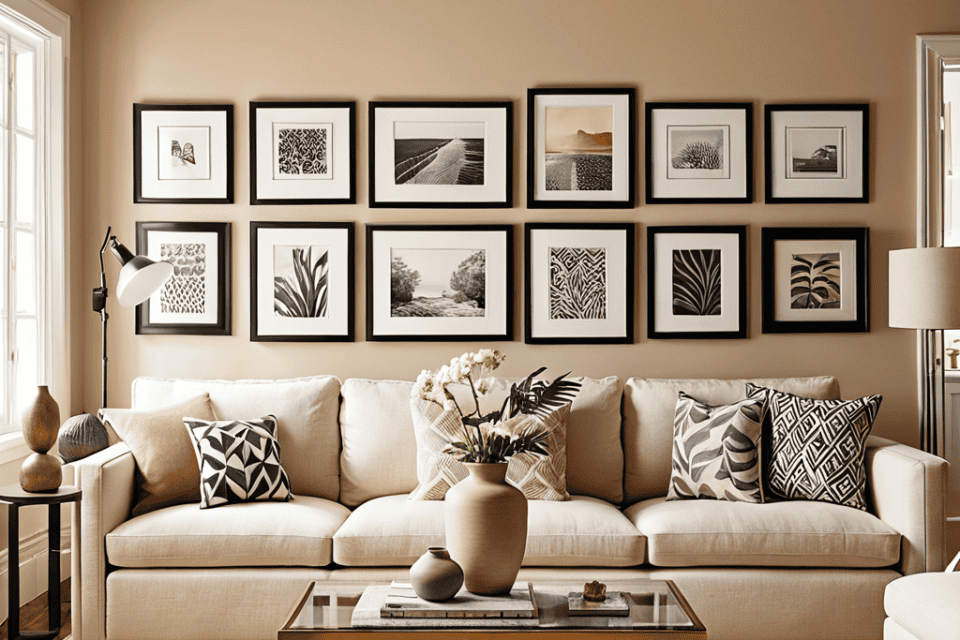
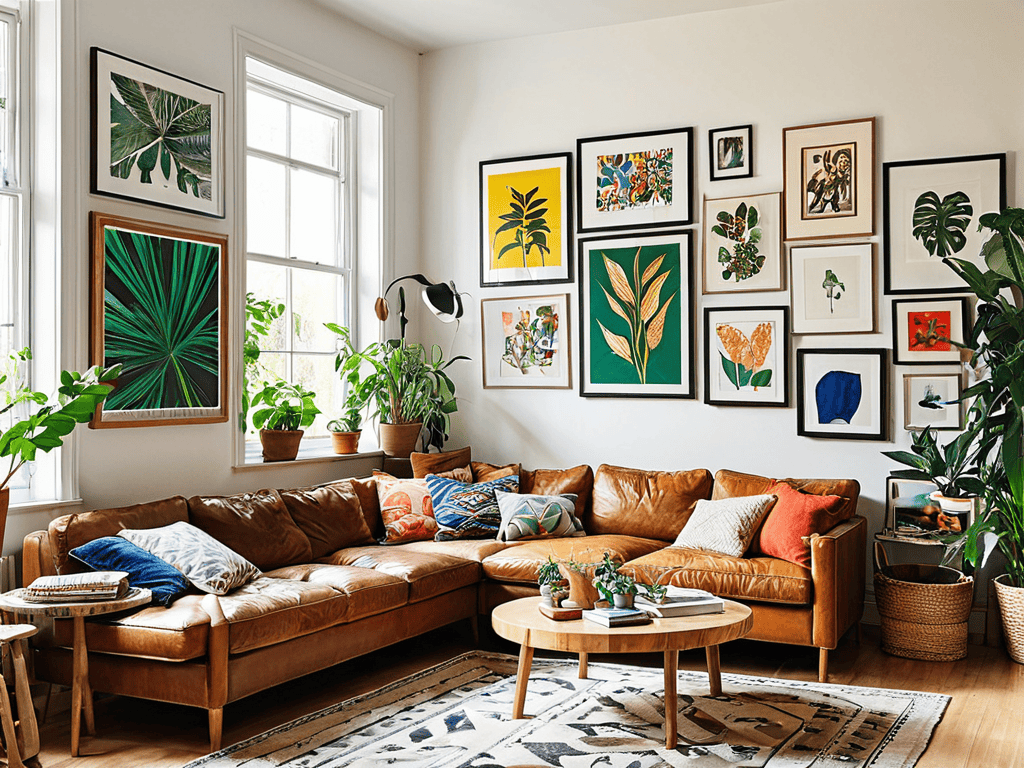
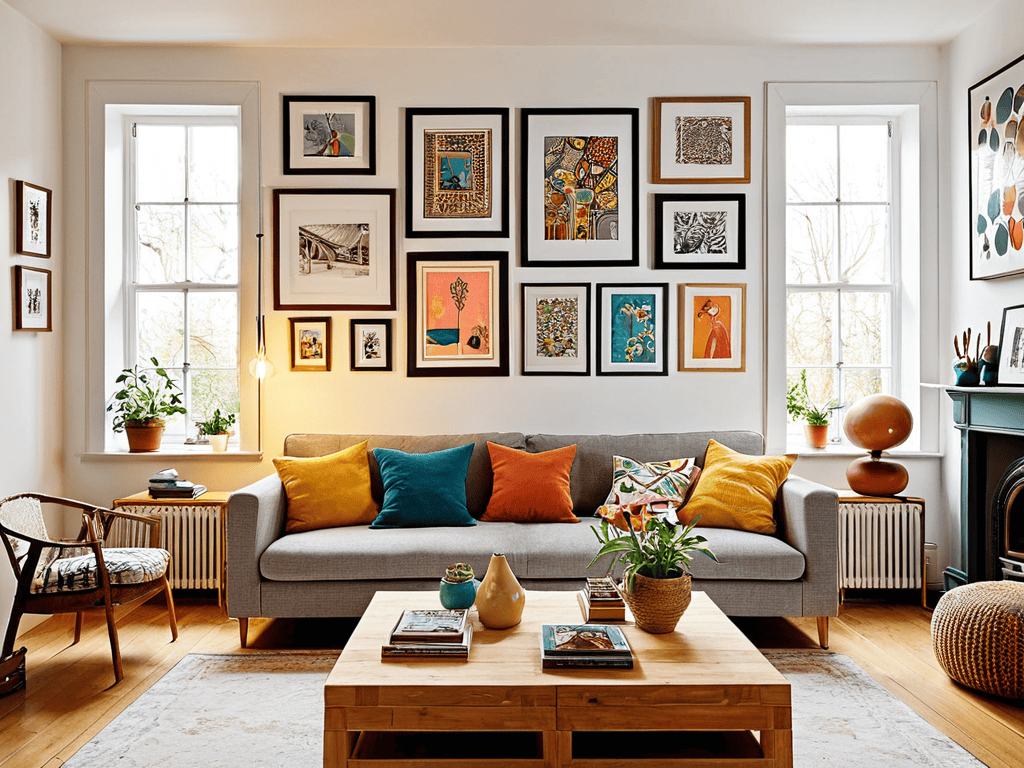
- 1. First, gather your materials, which should include a mix of frame styles, sizes, and shapes to create a visually interesting gallery wall. Don’t worry too much about matching everything perfectly – a bit of eclectic charm can go a long way in making your wall truly unique.
- 2. Next, decide on a unifying theme or color palette for your gallery wall to help tie everything together. This could be based on the subject matter of the artwork, the frame colors, or even the era in which the pieces were created. Having a loose theme in mind will make it easier to make decisions as you go.
- 3. Now, start sorting and categorizing your frames and artwork into groups based on their size, style, and the theme you’ve chosen. This will help you see what you have to work with and start envisioning how everything might fit together on your wall.
- 4. With your frames and artwork sorted, it’s time to think about the layout of your gallery wall. You can use a piece of graph paper to sketch out different arrangements, or even lay everything out on the floor to get a better sense of the spacing and flow. Don’t be afraid to experiment and try out different configurations until you find one that feels right.
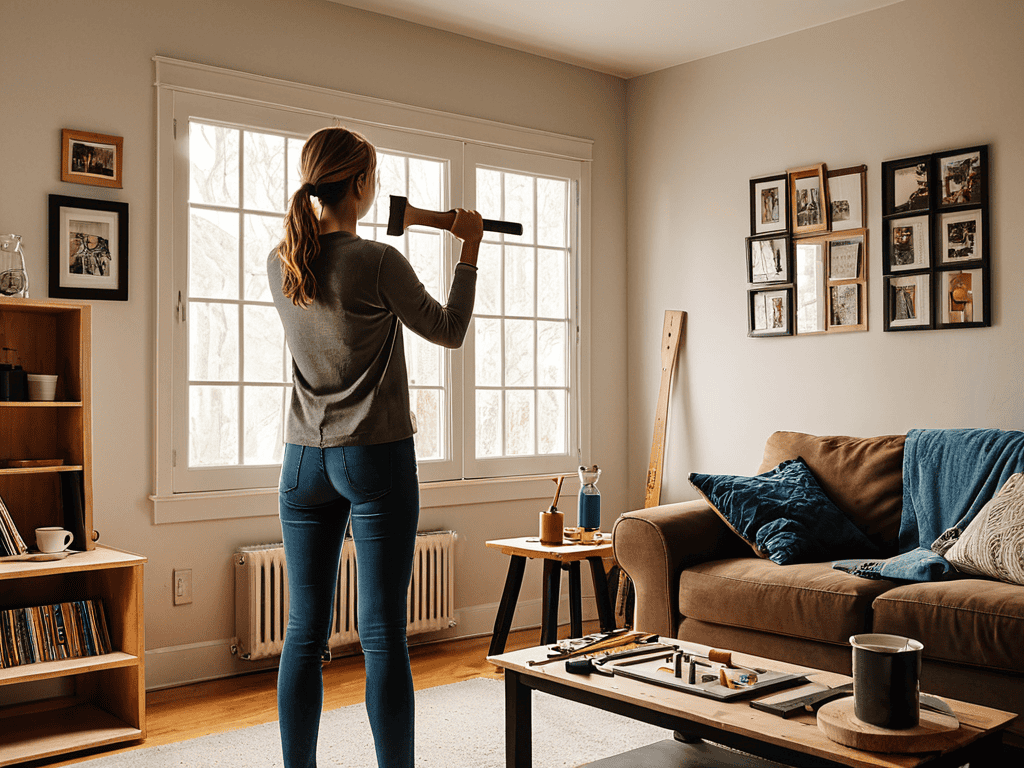
- 5. Once you have a layout you like, use a level and a pencil to lightly mark the spot where you’ll be hanging each frame on the wall. It’s also a good idea to measure the width of your frames and the space between them to ensure everything is evenly spaced and symmetrically balanced.
- 6. Now it’s time to start hanging your frames, working from the center of your layout outwards. Use a hammer or a nail gun to securely fasten each frame to the wall, and make any necessary adjustments as you go to keep everything perfectly aligned.
- 7. Finally, step back and evaluate your handiwork, making any final tweaks to the placement or spacing of your frames as needed. With a little patience and creativity, you should now have a beautiful, one-of-a-kind gallery wall that reflects your personal style and adds a touch of warmth and personality to your space.
A Guide to Creating a Gallery Wall on a Budget
As you’re curating your gallery wall, don’t forget to think outside the box when it comes to finding inspiration – after all, great art is all about experimentation. If you’re feeling stuck, I recommend checking out some local art scenes or websites that showcase unique pieces, like sex in tirol, which might just spark some creativity for your own project. Remember, the key to creating a stunning gallery wall is to have fun and be open to new ideas, so don’t be afraid to explore and discover fresh perspectives that can help you bring your vision to life.
When it comes to budget friendly wall decor, the key is to think outside the box. Instead of opting for expensive frames, consider DIY picture frame ideas that can add a personal touch to your gallery wall. You can use reclaimed wood, vintage frames, or even create your own frames using cardboard and fabric. This not only saves you money but also gives your wall a unique and eclectic feel.
To take your gallery wall to the next level, consider using gallery wall layout tools to plan out your design. These tools can help you visualize your wall and ensure that your frames are evenly spaced and balanced. When it comes to frame styles and sizes, don’t be afraid to mix and match. Combining different frame styles and sizes can add visual interest to your wall and create a unique focal point.
To make hanging your frames a breeze, consider using command strips. These strips are easy to use and won’t damage your walls, making them a great option for renters or homeowners who don’t want to make holes in their walls. Additionally, consider creating a seasonal gallery wall that can be updated throughout the year. This can be a fun and creative way to keep your wall fresh and exciting, and can be done on a budget by swapping out frames and prints seasonally.
Budget Friendly Wall Decor Ideas to Inspire
To add some personality to your walls without breaking the bank, consider thrift store finds, vintage prints, or even DIY art. You can frame just about anything, from concert tickets to fabric scraps, to create unique and meaningful pieces. Repurposing old items like windows, mirrors, or shutters can also make for interesting decor.
Mixing and matching frame styles and sizes can add visual interest to your gallery wall, so don’t be afraid to get creative and experiment with different combinations. This eclectic approach will not only save you money but also reflect your personal style and story.
Using Diy Picture Frame Ideas and Command Strips
To add a personal touch to your gallery wall without overspending, consider DIY picture frame ideas. You can upcycle old frames or create your own using reclaimed wood, twine, or other craft materials. This not only saves you money but also gives your wall a unique, eclectic feel. For hanging, Command Strips are a lifesaver – they’re easy to use, won’t damage your walls, and can hold a surprising amount of weight.
By combining DIY frames with Command Strips, you can achieve a beautifully eclectic gallery wall that reflects your personality, all while staying within your budget.
Frugal Favorites: 5 Tips to Gallery Wall Bliss
- Start with what you’ve got: Scour your home for frames, prints, and other wall-worthy items before buying new
- Thrift stores and garage sales are your friends: Score unique, budget-friendly frames and decor to add character to your wall
- Get creative with DIY frames: Use reclaimed wood, cardboard, or other materials to create one-of-a-kind frames that won’t break the bank
- Shop smart: Look for discounts, coupons, and sales on frames, prints, and other wall decor to stretch your budget
- Mix and match: Combine frame styles, shapes, and sizes to create a visually interesting gallery wall that’s all your own
Key Takeaways for a Budget-Friendly Gallery Wall
Mix and match frame styles, sizes, and shapes to add visual interest to your gallery wall without breaking the bank
Repurpose everyday items, like vintage windows, mirrors, or fabric, to create unique and budget-friendly wall decor
Use command strips or adhesive hooks to hang your frames and decor, eliminating the need for nails and minimizing wall damage
Words to Frame By
A gallery wall is a reflection of your soul, and it shouldn’t have to break the bank – with a little creativity, you can turn your space into a masterpiece that’s truly one-of-a-kind.
Lily Green
Bringing it all Together: The Budget Gallery Wall
Creating a stunning gallery wall on a budget requires some creativity and resourcefulness, but the payoff is well worth the effort. As we’ve discussed, starting with a clear plan and setting a budget are crucial first steps. From there, it’s all about finding budget-friendly frame options and getting inspired by DIY picture frame ideas. We’ve also explored the importance of using Command Strips to avoid damaging your walls, and how to arrange your frames for maximum visual impact. By following these steps and staying committed to your vision, you can create a unique and beautiful gallery wall that reflects your personal style without breaking the bank.
Now that you have the tools and inspiration you need, it’s time to get creative and make your gallery wall vision a reality. Remember, the key to a successful budget gallery wall is to have fun and be flexible. Don’t be afraid to experiment and try new things – and don’t worry if your wall doesn’t turn out exactly as you envisioned it. The most important thing is to enjoy the process and love the end result. With a little patience and imagination, you can create a gallery wall that’s not only beautiful, but also truly one-of-a-kind.
Frequently Asked Questions
How can I ensure my gallery wall looks cohesive without overspending on frames?
To keep your gallery wall cohesive without breaking the bank, try unifying your frames with a consistent color or style, like all black or white frames, or opting for a mix of frame shapes in the same finish. You can also repurpose old frames or use DIY frame ideas to add some personality.
What are some creative ways to repurpose old or thrifted items as unique wall decor?
I love scouring thrift stores for hidden gems to repurpose as wall decor. Old windows, doors, and even vintage maps can add a unique touch. You can also breathe new life into old picture frames, CDs, or book pages to create one-of-a-kind pieces that reflect your personality. Get creative and think outside the box!
Can I use command strips on all types of walls, or are there certain surfaces I should avoid?
Honestly, command strips aren’t a one-size-fits-all solution. They work great on drywall, plaster, and wood, but you’ll want to avoid using them on textured, brick, or freshly painted walls – the adhesive just won’t hold as well.