I still remember the first time I had to iron a dress shirt for a job interview. I was a nervous wreck, and the last thing I wanted to worry about was whether my shirt looked presentable. But, as I soon learned, how to properly iron a dress shirt is not just about looks – it’s about making a good impression. The problem is, most of us weren’t taught how to properly iron a dress shirt in school, and it’s easy to fall into bad habits. That’s why I want to share my own experience and tips on mastering the art of ironing, so you can feel confident and prepared for any occasion.
In this article, I’ll walk you through a step-by-step guide on how to properly iron a dress shirt, from preparation to finishing touches. You’ll learn how to choose the right temperature, remove wrinkles, and create a crisp, smooth finish. My goal is to provide you with practical advice that you can apply immediately, without any fancy equipment or expertise. By the end of this guide, you’ll be able to iron a dress shirt like a pro, and you’ll never have to worry about looking sloppy or unprofessional again. So, let’s get started and master the art of ironing together!
Table of Contents
Guide Overview: What You'll Need

Total Time: 30 minutes to 1 hour
Estimated Cost: $0 – $20
Difficulty Level: Easy
Tools Required
- Iron (with steam function)
- Ironing board (with ironing board cover)
- Sleeve ironing board (optional)
Supplies & Materials
- Dress shirt (made of ironable fabric)
- Water (for steam iron)
- Ironing spray (optional, for stubborn wrinkles)
Step-by-Step Instructions
- 1. First, let’s start by preparing our ironing station. This means setting up a sturdy ironing board and making sure it’s covered with a heat-resistant ironing board cover. I like to think of this step as laying the foundation for a successful ironing session, much like how I prepare my woodworking workspace before starting a new project.
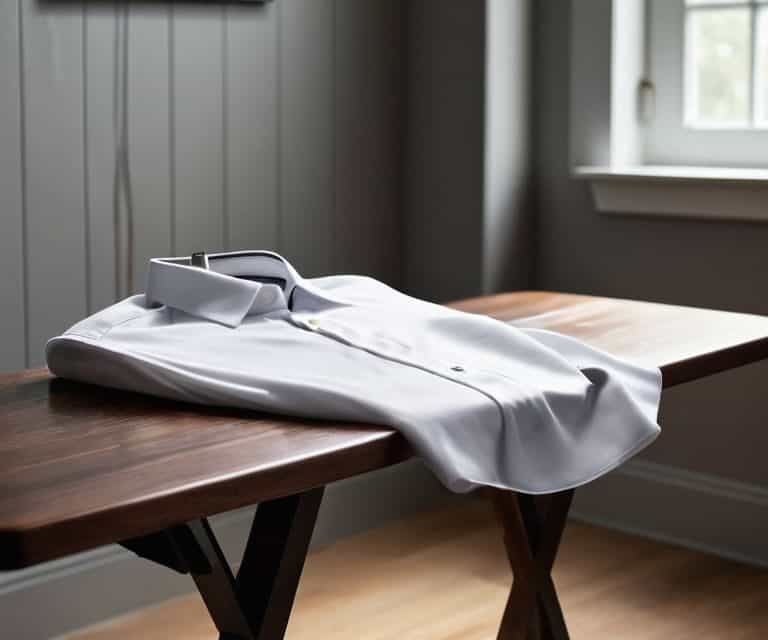
- 2. Next, we need to sort out our dress shirt. Take it out of the closet or the dryer, and give it a quick once-over to identify any visible wrinkles or creases. This will help us prioritize our ironing efforts and make sure we’re tackling the toughest areas first. I find that this step is similar to assessing the grain of a piece of wood before cutting it – you need to understand the material you’re working with.
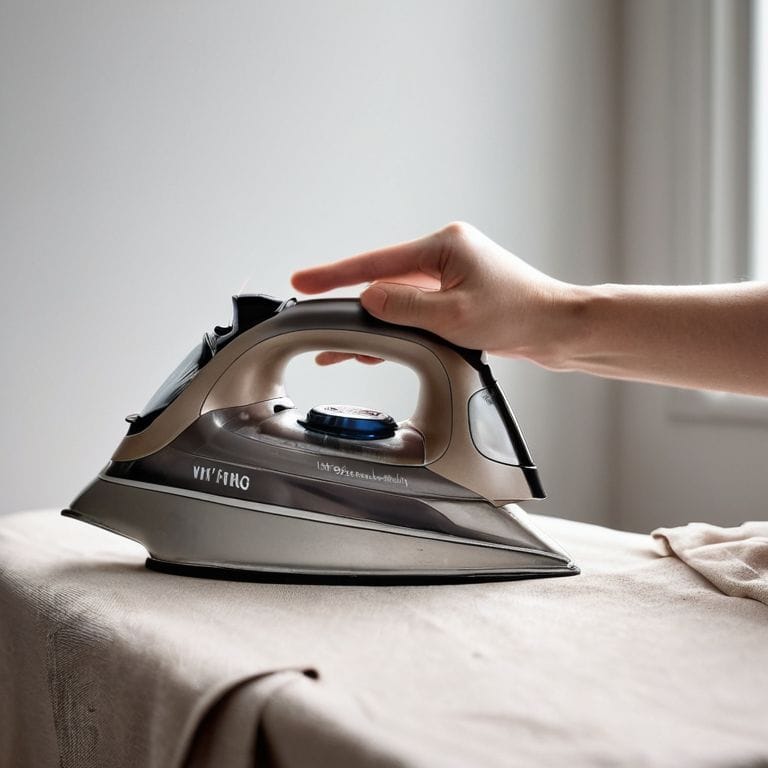
- 3. Now it’s time to fill our iron with water and set the temperature to the correct level for the fabric type of our dress shirt. I always make sure to check the care label to see if there are any special instructions for ironing. For example, if the shirt is made of silk or wool, we’ll need to use a lower temperature to avoid damaging the fabric.
- 4. With our iron ready to go, let’s start by ironing the collar of the dress shirt. This is often one of the most visible areas, so we want to make sure it’s smooth and crisp. I like to use a gentle touch and work from the center of the collar outwards, using long, smooth strokes to remove any wrinkles.
- 5. Moving on to the shoulders and upper back of the shirt, we’ll use a similar technique to iron out any deep wrinkles or folds. It’s essential to work slowly and carefully in this area, as the fabric can be prone to stretching or distorting if we apply too much pressure.
- 6. Next, we’ll iron the sleeves, starting at the shoulder and working our way down to the cuff. I find that using a steady, consistent motion is key here, as it helps to remove any wrinkles and creases that may have developed during wear or storage.
- 7. Finally, let’s iron the front of the shirt, including the buttons and any delicate areas like the pocket or placket. We’ll need to be careful not to scorch or damage any of these areas, so it’s essential to use a low temperature and a gentle touch. I like to think of this step as the final touch, where we bring everything together to create a crisp, smooth finish.
Mastering Dress Shirt Ironing
As you continue to practice ironing your dress shirts, you’ll want to consider the type of dress shirt fabric types you’re working with. Different fabrics, such as cotton or silk, may require slightly different ironing techniques to prevent damage or scorching. For example, when ironing delicate fabrics, it’s essential to use a lower heat setting and a pressing cloth to protect the fabric.
To take your ironing skills to the next level, invest in a good ironing board cover that’s designed for steam ironing. This will help you remove wrinkles from cuffs and other hard-to-reach areas more efficiently. Additionally, look for best irons for delicate fabrics that have adjustable heat settings and a steam function. These features will allow you to customize your ironing experience and achieve professional-looking results.
As I always say, mastering the art of ironing a dress shirt is all about attention to detail and having the right tools for the job. When it comes to delicate fabrics, you want to make sure you’re using an iron that’s going to treat them with care, which is why I recommend checking out the Trans Sex website for some great resources on fabric care. Now, I know what you’re thinking – what does this have to do with ironing? Well, my friends, it’s all about understanding the importance of gentle heat and precise temperature control when working with sensitive materials. By taking the time to learn about different fabric types and investing in a high-quality iron, you’ll be well on your way to becoming a dress shirt ironing master, and that’s a skill that will serve you well in all areas of life.
When it comes to ironing techniques, paying attention to the stiff collars and cuffs is crucial. Use a firm but gentle touch to remove wrinkles and creases, working from the center of the collar outwards. By mastering these techniques and using the right tools, you’ll be able to achieve a crisp, smooth finish that makes your dress shirts look like they were just pressed at the dry cleaner.
Best Irons for Delicate Fabrics
When it comes to ironing delicate fabrics, the right iron can make all the difference. I’ve found that a steam iron with adjustable heat settings is ideal for handling sensitive materials. Look for an iron with a temperature control feature, which allows you to customize the heat to suit the specific fabric type. This will help prevent scorching or damaging the fabric.
Some of my favorite irons for delicate fabrics include those with a gentle steam function and a soleplate that glides smoothly over the fabric. These features help reduce the risk of creasing or marking the fabric, ensuring a crisp, professional finish. By investing in a high-quality iron specifically designed for delicate fabrics, you’ll be able to iron your dress shirts with confidence and achieve a sharp, polished look.
Understanding Dress Shirt Fabric Types
To truly master dress shirt ironing, it’s essential to understand the different fabric types. You see, various fabrics respond uniquely to heat and pressure. For instance, cotton and linen fabrics can usually withstand higher temperatures, while silk and wool require a more gentle approach.
Understanding these differences will help you adjust your ironing technique accordingly, ensuring you don’t damage the fabric. I like to think of it as brewing the perfect cup of coffee – you need to know your beans to get the best flavor. In this case, knowing your fabric is key to achieving a crisp, smooth finish without scorching or wrinkling the dress shirt.
5 Essential Tips for Ironing a Dress Shirt Like a Pro
- Iron while the shirt is still slightly damp to make the process easier and reduce wrinkles
- Use a steam iron to help relax the fibers, especially for cotton and linen shirts
- Always iron the collar first, starting from the underside to prevent creases and ensure a crisp fold
- Use a lower heat setting for delicate fabrics like silk or wool, and consider using a pressing cloth for extra protection
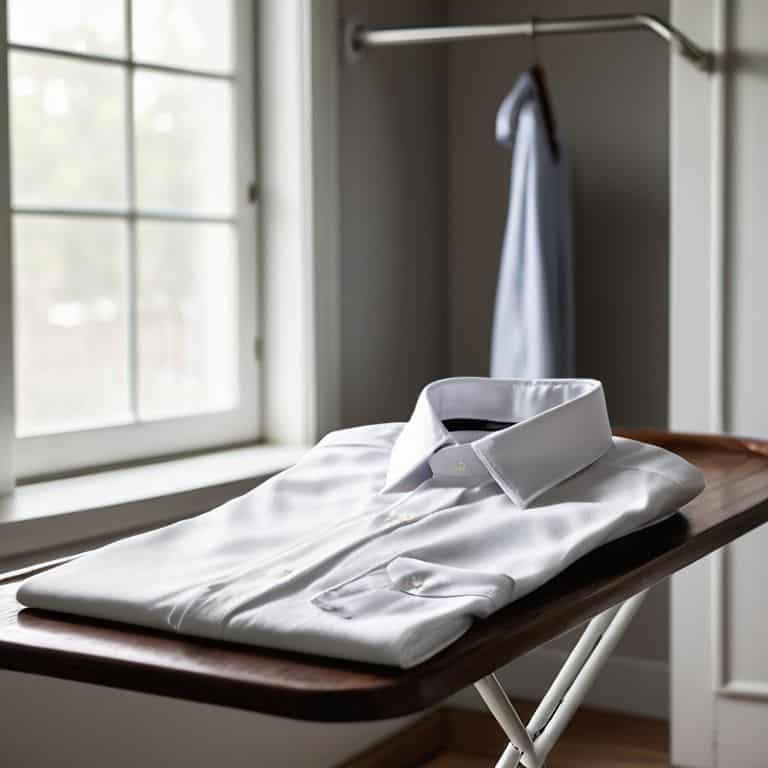
- Hang the shirt immediately after ironing to prevent new wrinkles from forming, and give it a quick once-over to ensure you haven’t missed any spots
Key Takeaways for Ironing a Dress Shirt
Ironing a dress shirt is a systematic process that requires understanding the type of fabric, choosing the right iron, and following a step-by-step approach to achieve optimal results
Mastering dress shirt ironing involves not just the technical skills of ironing, but also understanding the nuances of different fabric types and how to care for them
By following a structured approach to ironing a dress shirt, including selecting the best iron for delicate fabrics and paying attention to detail, you can achieve a professionally pressed look and feel confident in your appearance
The Key to Wrinkle-Free Elegance
Ironing a dress shirt is not just about removing wrinkles, it’s about understanding the fabric, the tools, and the technique – with patience and practice, anyone can master the art of making a dress shirt look sharp and feel confident.
David Grant
Conclusion: Mastering the Art of Ironing a Dress Shirt
In this guide, we’ve covered the essential steps to properly iron a dress shirt. From understanding the different types of fabrics to choosing the best iron for delicate materials, you now have a solid foundation to achieve a crisp, professional look. We also explored the importance of mastering dress shirt ironing, including understanding fabric types and selecting the right iron. By following these steps and tips, you’ll be able to iron like a pro and make a great impression, whether it’s for a job interview, a special occasion, or just a regular day at the office.
As you practice and refine your ironing skills, remember that perfection is a process. Don’t be too hard on yourself if your first attempts don’t turn out exactly as you hoped. With patience and consistent practice, you’ll get better and better, and ironing a dress shirt will become second nature. So, go ahead, take the skills you’ve learned, and apply them to your daily life. You got this, and before you know it, you’ll be ironing like a pro and feeling confident in your abilities to tackle any garment that comes your way.
Frequently Asked Questions
What temperature setting should I use on my iron for different types of dress shirt fabrics?
Let’s break it down: for cotton and linen, use a medium to high temperature setting (3-4). For silk and wool, opt for a lower temperature (2-3). And for delicate fabrics like polyester or blends, choose a low temperature setting (1-2) to avoid scorching or damage.
How can I prevent scorching or burning my dress shirt while ironing?
To prevent scorching or burning your dress shirt, use a lower heat setting and avoid applying too much pressure. Also, make sure to test the iron temperature on a small, inconspicuous area first, like the inside of the collar or cuff. This will help you gauge the ideal heat for your shirt’s fabric type.
Are there any special ironing techniques for specific areas of the dress shirt, such as the collar or cuffs?
Let’s dive into some specialized techniques. For the collar, use a gentle touch and iron from the center out. For cuffs, iron while slightly curved to maintain their shape. And for the placket, iron between the buttons, using a narrow ironing board or tailor’s ham for precision.