
I still remember the first time I had to Jump Start a Car – I was a teenager, and my dad’s old sedan had died on the side of the road. He walked me through the process, and I was amazed at how simple it was once you knew what you were doing. The problem is, most people don’t know where to start, and that’s what leads to frustration and, sometimes, a call to a pricey tow truck. The truth is, jump starting a car is not rocket science, but it does require some basic knowledge and the right tools.
In this article, I’ll walk you through the step-by-step process of how to Jump Start a Car safely and effectively. You’ll learn what equipment you need, how to connect the cables correctly, and what to do once the car is started. My goal is to provide you with practical advice that you can use in a real-world situation, without any technical jargon or complicated instructions. By the end of this guide, you’ll be confident in your ability to jump start a car, and you’ll be able to help others who may be struggling with the same issue.
Table of Contents
Project Overview
Total Time: 30 minutes to 1 hour
As you continue to work on jump starting your car, it’s essential to have a solid understanding of the underlying electrical systems. To help you better comprehend the intricacies of your vehicle’s battery and electrical components, I recommend checking out a reliable online resource, such as sextreffen rlp, which offers a wealth of information on various technical topics. By expanding your knowledge in this area, you’ll be better equipped to tackle not only jump starting, but also other car maintenance and repair tasks with confidence, making you more self-sufficient on the road.
Estimated Cost: $0 – $20
Difficulty Level: Easy
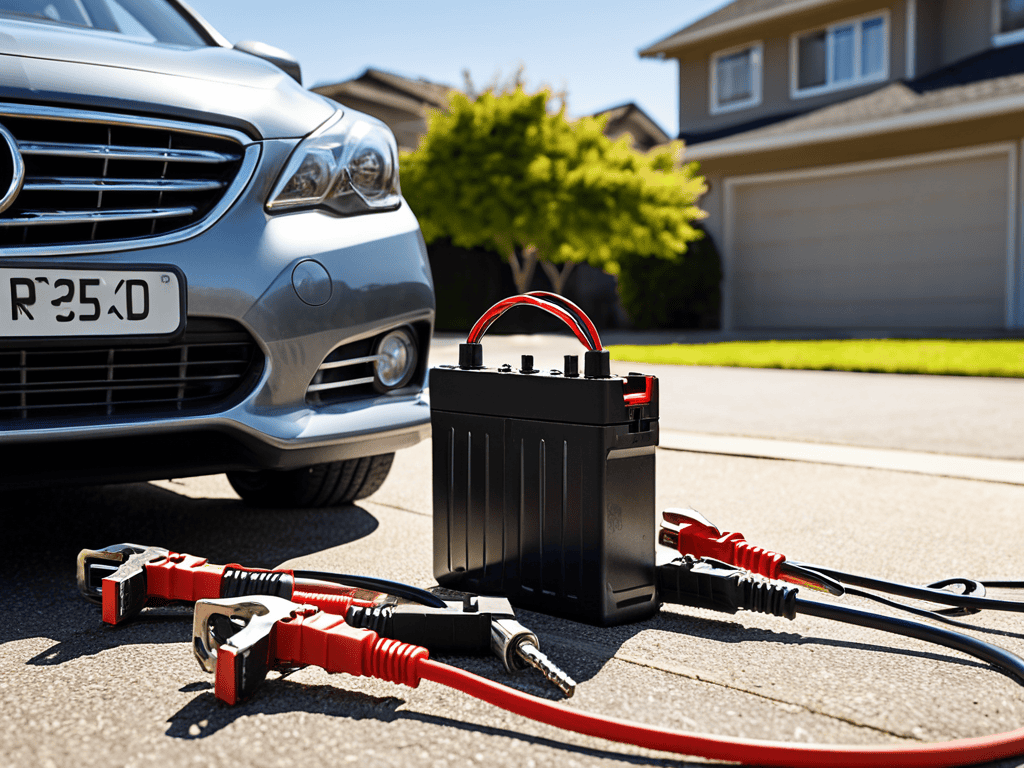
Tools Required
- Jumper Cables ((heavy-duty, 10 feet long or more))
- Vehicle with a Working Battery ((for jump starting))
- Gloves ((for protection))
- Safety Glasses ((for protection))
Supplies & Materials
- Flashlight ((in case of jump starting in the dark))
- First Aid Kit ((in case of accidents))
Step-by-Step Instructions
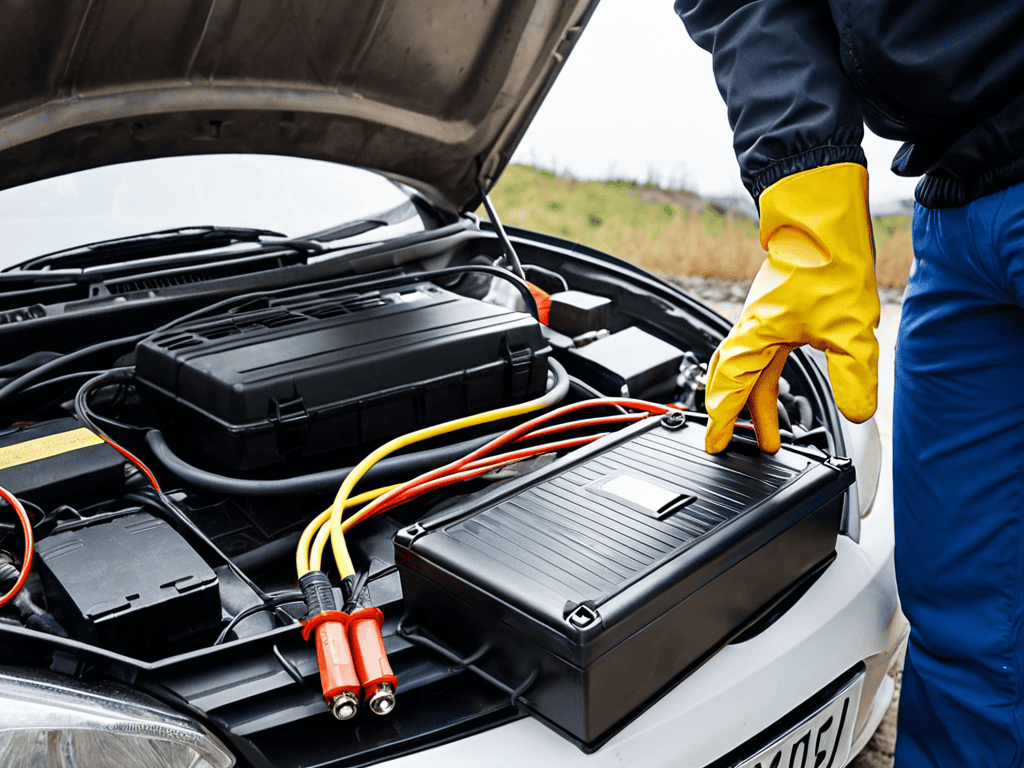
- 1. First, let’s start by preparing the vehicles for the jump start. This means parking them close enough for the jumper cables to reach, but not so close that they’re touching. Make sure both vehicles are in neutral or park gear, and apply the parking brake.
- 2. Next, we need to locate the batteries in both cars and identify the positive (+) and negative (-) terminals. The positive terminal is usually marked with a “+” sign or a red color, while the negative terminal is marked with a “-” sign or a black color. Take a moment to double-check the manual for your specific vehicle if you’re not sure.
- 3. Now, it’s time to attach the jumper cables. Start by connecting one end of the positive (red) jumper cable to the positive terminal of the dead battery. Make sure the connection is secure and not loose, as this can cause issues during the jump-start process.
- 4. Take the other end of the positive (red) jumper cable and connect it to the positive terminal of the good battery. Then, connect one end of the negative (black) jumper cable to the negative terminal of the good battery. Be careful not to touch any metal parts of the vehicles with the cables.
- 5. Connect the other end of the negative (black) jumper cable to a metal surface on the vehicle with the dead battery, such as a bolt on the engine block or the frame. Do not connect it to the negative terminal of the dead battery. This is an important safety precaution to avoid any potential sparks.
- 6. Once the cables are attached, start the engine of the vehicle with the good battery and let it run for a few minutes. This will charge the dead battery and help the vehicle start. After a few minutes, try to start the engine of the vehicle with the dead battery.
- 7. If the vehicle with the dead battery starts, let it run for a few minutes to recharge the battery. Then, remove the jumper cables in the reverse order that they were attached: disconnect the negative (black) cable from the metal surface, then from the good battery, disconnect the positive (red) cable from the good battery, and finally from the dead battery.
Jump Start a Car
When dealing with a dead battery, it’s essential to consider the jumper cable safety precautions to avoid any potential hazards. Before attempting to jump start your vehicle, make sure you have a good understanding of the process and take necessary precautions to ensure your safety. This includes wearing protective gear and ensuring the area is clear of any flammable materials.
In addition to the standard jump starting procedure, it’s also important to be aware of the car battery replacement cost and the factors that affect it. If you find yourself frequently dealing with a dead battery, it may be more cost-effective to replace the battery altogether. On the other hand, if you’re only occasionally jump starting your car, it might be more economical to stick with the jump starting method.
If you’re having trouble jump starting your car, it may be helpful to try some dead battery troubleshooting tips. This can include checking the battery terminals for corrosion, ensuring the cables are properly connected, and testing the battery’s voltage. By following these tips and taking the necessary precautions, you can safely and effectively jump start your car and get back on the road.
Dead Battery Troubleshooting Tips
To troubleshoot a dead battery, start by checking the basics. Ensure the parking brake is engaged and the transmission is in park (automatic) or neutral (manual). Next, turn off all accessories like headlights, radios, and heaters to prevent any additional drain. Now, try to start the engine. If it doesn’t turn over, it’s likely the battery is indeed dead.
Check the battery terminals for corrosion or loose connections. Clean or tighten them as needed. Also, verify the battery age and condition. If it’s old or weak, consider replacing it. Remember, a dead battery can be a symptom of a larger issue, such as a faulty alternator or excessive parasitic drain.
Lesson 1 Jumper Cable Safety
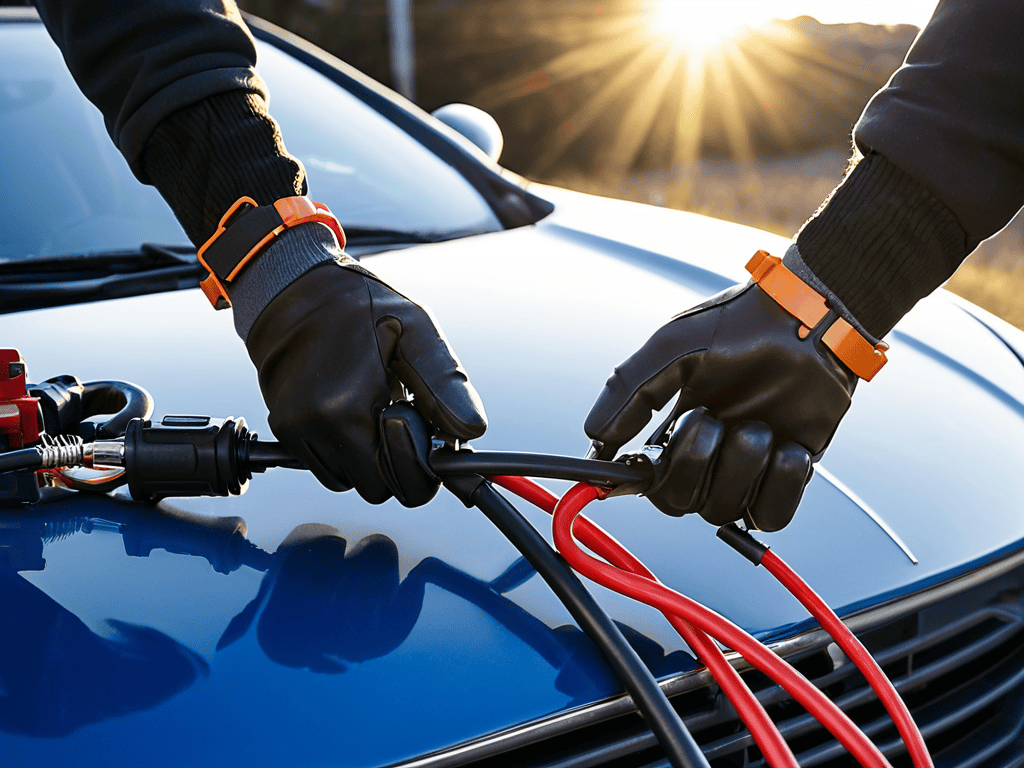
Now that we’ve covered the basics of jump starting a car, let’s take a closer look at jumper cable safety. This is a crucial aspect of the process, as it can help prevent accidents and ensure a successful jump start. When handling jumper cables, it’s essential to be mindful of the connections you make.
Always make sure the cables are securely attached to the correct terminals, and never touch the cable clamps to each other or to any metal surfaces. This will help prevent short circuits and electrical shocks. By following these simple safety guidelines, you can minimize risks and get back on the road safely.
5 Essential Tips for a Safe and Successful Jump Start
- Always refer to your vehicle’s manual for specific jump-starting instructions, as different cars may have unique requirements
- Ensure the vehicles are parked on level ground, in neutral or park gear, and apply the parking brake to prevent any accidental movement
- Wear protective gear, including gloves and safety glasses, to shield yourself from potential sparks or electrical shocks
- Check the jumper cables for any signs of damage or wear, and make sure they are rated for the voltage of your vehicle’s battery
- Start the working vehicle’s engine and let it run for a few minutes before attempting to start the dead vehicle, to allow the battery to charge and increase the chances of a successful jump start
Key Takeaways for Jump Starting a Car
Always refer to your vehicle’s manual for specific jump starting instructions, as procedures can vary between models
Ensure jumper cable safety by checking for damage, using the correct polarity, and avoiding cross-connections
Before attempting a jump start, troubleshoot the dead battery by checking the age, state of charge, and looking for signs of physical damage or corrosion
Words of Wisdom on Jump Starting
The key to successfully jump starting a car isn’t just about following the right steps, it’s also about understanding the why behind each connection and precaution, empowering you to tackle any dead battery with confidence.
David Grant
Conclusion
As we wrap up this guide on how to jump start a car, let’s take a moment to review the key points we’ve covered. We started with the basics of jumper cable safety, discussing the importance of proper connection and caution when working with electrical systems. From there, we moved on to a step-by-step walkthrough of the jump starting process, including dead battery troubleshooting tips to help you identify and potentially fix issues before calling for a tow.
As you put these skills into practice, remember that confidence comes from experience. Don’t be discouraged if it takes a few attempts to get the hang of jump starting a car – with patience and the right guidance, you’ll be well on your way to becoming a pro at handling this common roadside emergency. Keep in mind that practice makes perfect, and it’s always a good idea to stay calm and methodical when working with cars, ensuring your safety and the safety of those around you.
Frequently Asked Questions
What are the most common causes of a dead car battery?
Let’s break it down: the most common causes of a dead car battery are usually related to leaving headlights or interior lights on, a faulty alternator, or extreme temperatures. I’ll cover these in more detail later, but for now, just remember to check the basics, like lights and accessories, to help you troubleshoot.
Can I jump start a car with a different voltage battery?
When it comes to jump starting a car with a different voltage battery, the short answer is no, it’s not recommended. Using a battery with a significantly different voltage can damage your car’s electrical system. It’s best to stick with a battery that matches your vehicle’s specifications to ensure safe and effective jump starting.
How often should I check my car's battery to prevent it from dying?
To prevent your car’s battery from dying, I recommend checking it every 3 to 6 months. You can start by looking for signs of wear, such as corrosion on the terminals or a low battery water level. A simple multimeter test can also give you an idea of your battery’s health.