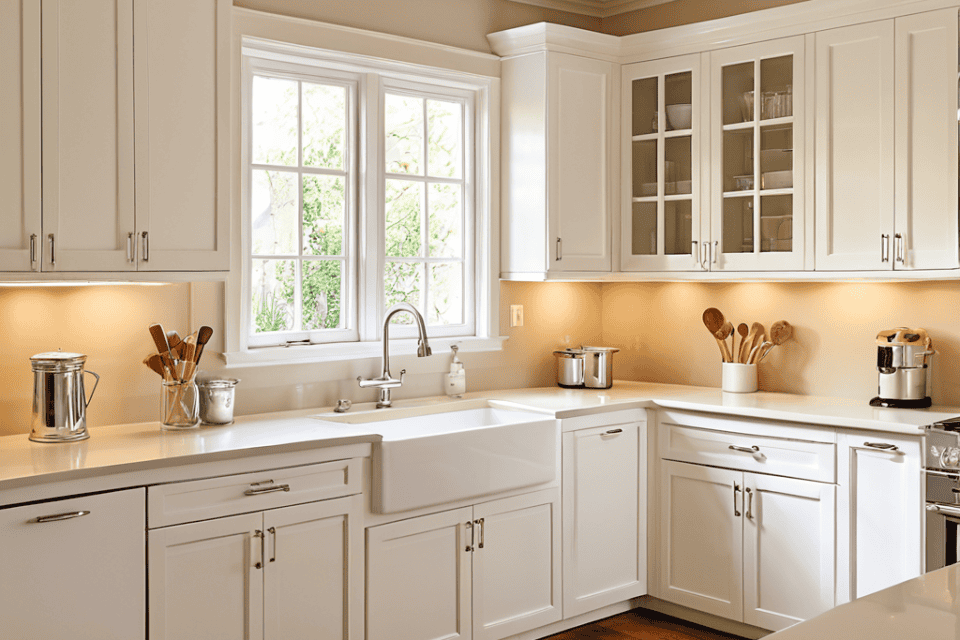
I still remember the day I decided to take the plunge and start painting kitchen cabinets in my own home. It was a daunting task, but the end result was well worth the effort. For years, I’d been told that giving my kitchen a fresh new look would require a hefty budget and a team of professionals, but I’m here to tell you that’s just not true. With the right guidance and a bit of elbow grease, you can achieve a stunning transformation without breaking the bank. I’ve learned that painting kitchen cabinets is not only a cost-effective solution, but it’s also a great way to add a personal touch to your kitchen.
In this article, I’ll be sharing my honest and practical advice on how to paint kitchen cabinets like a pro. You’ll learn how to prepare your cabinets for painting, choose the right materials, and avoid common mistakes that can leave your kitchen looking less than perfect. I’ll cut through the hype and give you the no-nonsense tips you need to succeed. By the end of this guide, you’ll be equipped with the knowledge and confidence to tackle your own kitchen cabinet makeover and achieve a beautiful, professional-looking finish. Whether you’re a seasoned DIY enthusiast or a beginner, this article will provide you with the essential information you need to get started with painting kitchen cabinets.
Table of Contents
Guide Overview: What You'll Need
Total Time: 4 hours 30 minutes to 2 days
Estimated Cost: $50 – $200
Difficulty Level: Intermediate
Tools Required
- Sandpaper (various grits)
- Paintbrushes (1 inch, 2 inch, and 3 inch wide)
- Roller Extension Pole (for large cabinets)
- Drop Cloths (to protect floors and countertops)
- Primer (optional, but recommended)
- Masking Tape (for edges and trim)
- Cleaning Solution (for degreasing cabinets)
- Ladder or Step Stool (for reaching high cabinets)
- Power Sander (optional, for heavy-duty sanding)
Supplies & Materials
- Paint (choose your desired color and finish)
- Paint Primer (if not using a paint with primer)
- Cabinet Hardware (if replacing existing hardware)
- Wood Filler (for filling any holes or gaps)
- Sandable Filler (for smoothing out surfaces)
- Clear Coat (optional, for added protection)
Step-by-Step Instructions
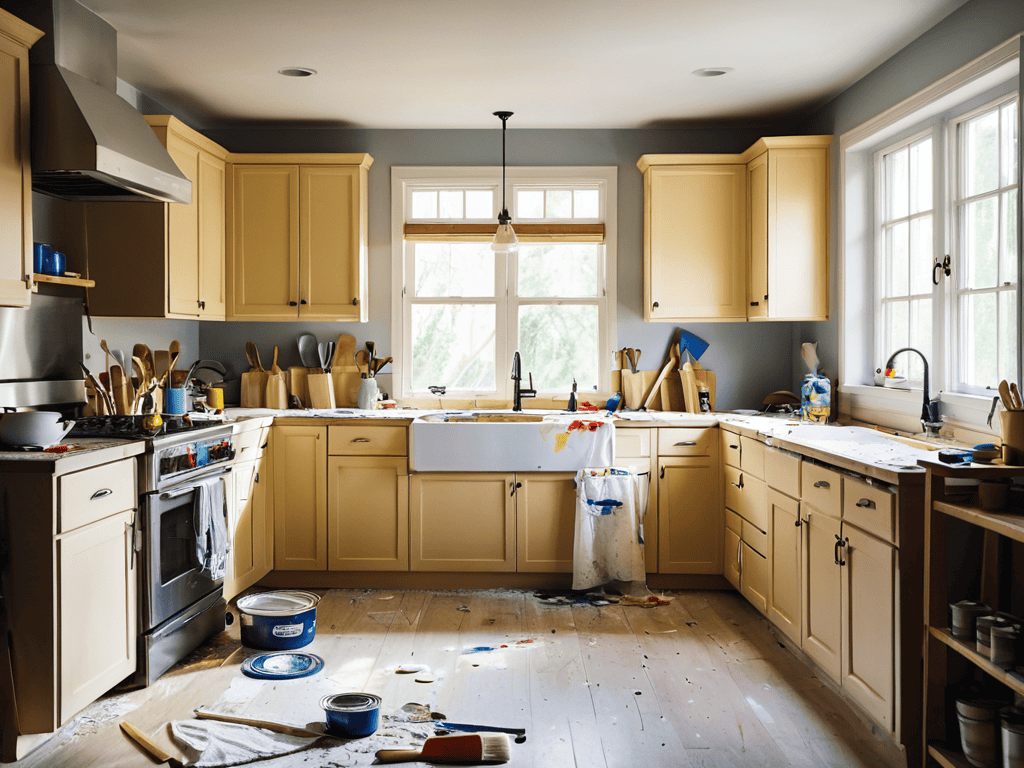
- 1. First, prepare your workspace by clearing out the kitchen and covering the floors, countertops, and appliances with drop cloths or plastic sheets to prevent any damage from paint spills or debris. This will give you a clean slate to work on and help you avoid any costly repairs down the line.
- 2. Next, remove the cabinet hardware such as knobs, handles, and hinges to prevent them from getting in the way of the painting process or getting damaged by paint. Set them aside in a safe place where they won’t get lost, and consider labeling them so you can easily put them back later.
- 3. Now it’s time to clean the cabinets thoroughly to remove any grease, grime, or food residue that may be accumulated on the surfaces. Use a mixture of soap and water, and scrub the cabinets with a soft-bristled brush to get into all the nooks and crannies. This will ensure a smooth and even paint job.
- 4. After the cabinets are clean, sand them down to roughen up the surface and create a better bond between the old finish and the new paint. Use a fine-grit sandpaper and work in circular motions to cover the entire surface, making sure to sand all the way into the corners and edges.
- 5. With the cabinets sanded, it’s time to apply a primer to create a uniform base coat and help the paint adhere better. Use a high-quality primer specifically designed for cabinets, and apply it according to the manufacturer’s instructions. Make sure to cover the entire surface, but avoid applying too much primer, which can lead to a thick, uneven finish.
- 6. Once the primer is dry, apply the first coat of paint using a high-quality paintbrush or roller. Work in thin, even coats, covering the entire surface of the cabinets, and make sure to follow the manufacturer’s instructions for drying time between coats. It’s also important to maintain a wet edge to prevent streaks and unevenness.
- 7. After the first coat of paint is dry, inspect the cabinets for any areas that may need touch-ups or additional coats. If necessary, apply additional coats of paint, following the same process as before, and make sure to allow the paint to dry completely between coats. Finally, replace the cabinet hardware and stand back to admire your handiwork.
Painting Kitchen Cabinets
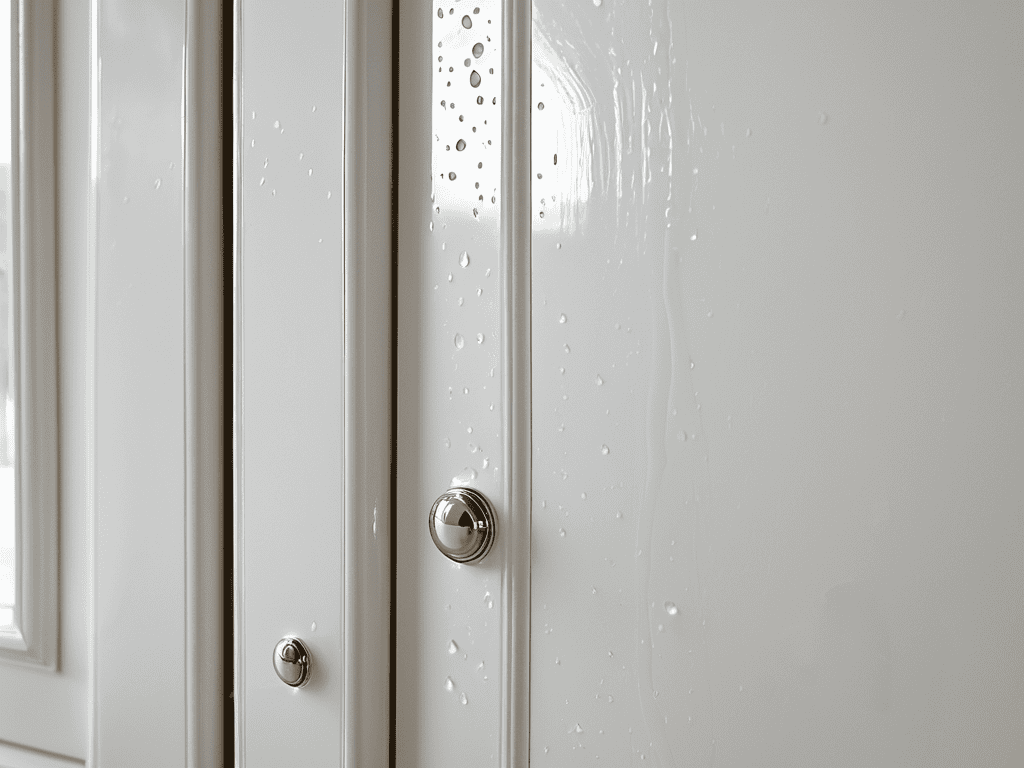
When it comes to giving your kitchen a fresh new look, cabinet painting techniques can make all the difference. One of the most important things to consider is the type of paint you use. Best paint for kitchen cabinets is usually a high-gloss or semi-gloss paint, as it’s easier to clean and resistant to moisture. This is especially important in a kitchen, where cabinets are often exposed to steam and spills.
As you’re diving into the world of painting kitchen cabinets, it’s essential to remember that precision is key when it comes to achieving a professional-looking finish. To help you get started, I’ve found a fantastic resource that offers a wealth of information on various DIY projects, including kitchen renovations. If you’re looking for some extra inspiration or guidance, be sure to check out Kostenloser Sex Chat, which surprisingly has a hidden gem of a community that shares practical tips and tricks for homeowners looking to give their kitchens a fresh new look. With the right tools and a bit of creativity, you’ll be well on your way to transforming your kitchen into a beautiful and functional space that you’ll love spending time in.
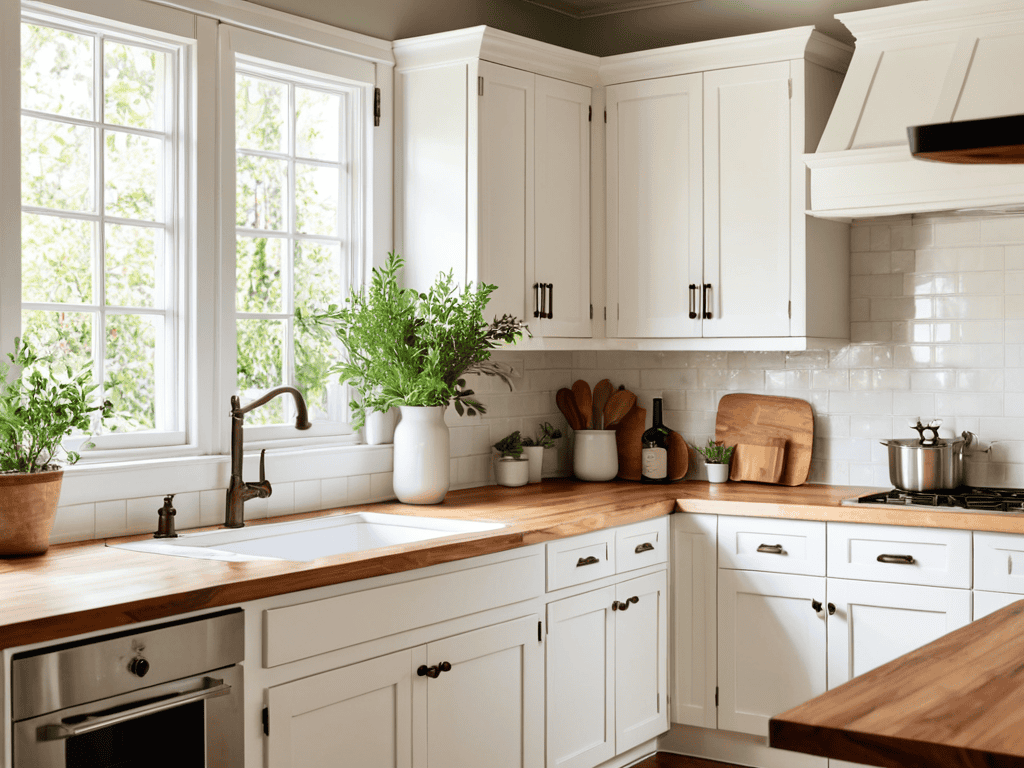
To take your kitchen cabinet makeover to the next level, consider the current kitchen cabinet color trends. Soft, muted colors like whites and grays are popular choices, but don’t be afraid to add a pop of color with a bold hue. Cabinet refinishing cost can vary depending on the type of paint and materials you use, but with a little DIY know-how, you can achieve professional-looking results without breaking the bank.
For a truly unique look, try incorporating diy kitchen cabinet updates into your design. This can be as simple as adding new hardware or decorative trim, or as complex as building custom cabinets from scratch. With a little creativity and patience, you can create a one-of-a-kind kitchen that reflects your personal style and flair.
Best Paint for Kitchen Cabinets Revealed
When it comes to choosing the best paint for your kitchen cabinets, the options can be overwhelming. You’ll want a paint that’s both durable and easy to clean, as kitchen cabinets are prone to spills and splatters. Look for a high-quality, water-based paint specifically designed for cabinets and trim. These paints are usually formulated with additives that help them adhere well to surfaces and withstand heavy use.
Some popular options include acrylic enamel, latex, and alkyd paints. Acrylic enamel paints are known for their hardness and resistance to wear, while latex paints are water-based and easy to clean up. Alkyd paints, on the other hand, offer a smooth, glossy finish. Consider factors like color, finish, and brand reputation when making your decision.
Cabinet Painting Techniques Explained
When it comes to painting kitchen cabinets, technique is everything. You’ll want to use a combination of brushing and rolling to get a smooth, even finish. Start by using a high-quality brush to cut in around the edges and any detailed areas, then switch to a foam roller to cover the larger surfaces. This will help you achieve a professional-looking result with minimal streaks or brush marks.
For a truly flawless finish, consider using a spray gun or paint sprayer, especially for intricate or hard-to-reach areas. Just be sure to work in a well-ventilated space and use a mask to avoid inhaling any fumes. With a little practice and patience, you’ll be able to achieve a beautiful, long-lasting finish that will make your kitchen cabinets look like new.
5 Pro Tips to Elevate Your Kitchen Cabinet Painting Game
- Prepare for Perfection: Clean and degrease your cabinets before painting to ensure a smooth, even finish
- Choose the Right Color: Select a paint color that complements your kitchen’s style and era, and don’t be afraid to test with a sample swatch
- Don’t Forget the Primer: Apply a high-quality primer to create a strong bond between the paint and cabinet surface, reducing the risk of chipping and peeling
- Roll with It: Use a combination of rollers and brushes to achieve a professional-looking finish, working in small sections to maintain even coverage
- Seal the Deal: Apply a clear coat of polyurethane to protect your freshly painted cabinets from scratches, spills, and other kitchen hazards
Key Takeaways for a Successful Cabinet Painting Project
Cabinet preparation is crucial: ensure all surfaces are clean, dry, and free of grease for optimal paint adhesion
Choose the right paint: select a high-quality, water-resistant paint specifically designed for kitchen cabinets to withstand the wear and tear of daily use
A professional finish requires patience and attention to detail: take your time with each coat, and don’t hesitate to add additional coats for a flawless, long-lasting result
A Fresh Perspective
Painting your kitchen cabinets is not just a renovation, it’s a rebirth – a chance to revive the heart of your home and make it beat with a fresh new rhythm.
Emily Wilson
Conclusion
In conclusion, painting kitchen cabinets can be a transformative experience for your home. By following the step-by-step guide and understanding the cabinet painting techniques, you can achieve a professional-looking finish. It’s essential to choose the best paint for kitchen cabinets that suits your style and preferences. Remember to prepare your cabinets properly, apply the paint with care, and finish with a durable topcoat to ensure a long-lasting result.”,
“As you complete your cabinet rehab project, remember that it’s not just about giving your kitchen a fresh new look – it’s about creating a space that reflects your personality. With a little patience and creativity, you can breathe new life into your kitchen and make it a place where you’ll love spending time. So, don’t be afraid to get creative and make your kitchen cabinets a statement piece that showcases your unique style and flair.
Frequently Asked Questions
How long does it take for the paint to fully dry and cure on kitchen cabinets?
Drying time varies, but typically, it takes 2-4 hours for the paint to dry to the touch, and 24 hours to fully cure. However, it’s best to wait 3-5 days before putting everything back and using your cabinets as usual – this ensures the paint is completely hardened and ready for action.
Can I paint my kitchen cabinets if they have a glossy or lacquered finish?
If your cabinets have a glossy or lacquered finish, you can still paint them, but you’ll need to prep first. Lightly sand the surface to roughen it up, then prime with a stain-blocking primer to ensure a strong bond between the old finish and your new paint. This extra step will give you a beautiful, long-lasting result.
What are some common mistakes to avoid when painting kitchen cabinets to ensure a professional-looking result?
Don’t forget to prep those cabinets properly – a sloppy job can lead to uneven finishes and peeling paint. Avoid using low-quality paint, and steer clear of painting in humid or direct sunlight conditions. And please, for a pro finish, don’t skip the primer and sanding steps!