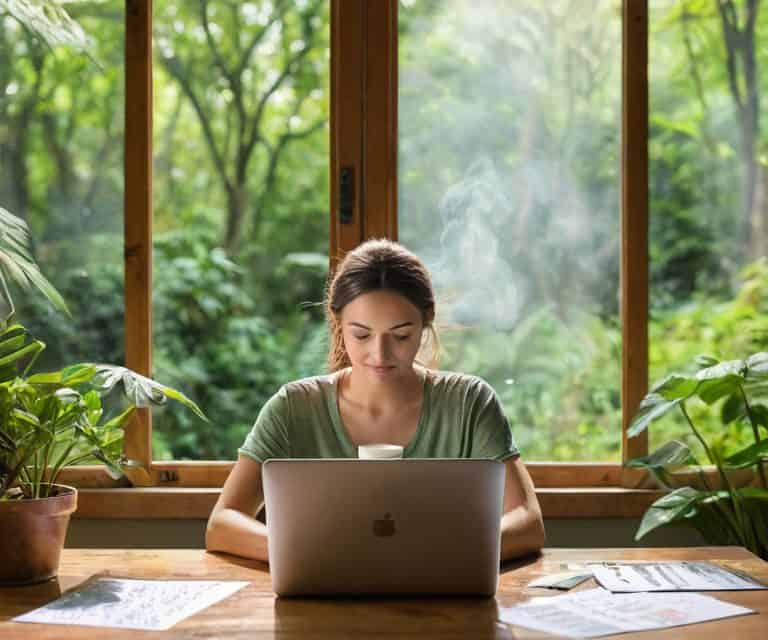
I still remember the days when creating engaging blog images was a total nightmare for me. I’d spend hours browsing through stock photo websites, only to end up with a generic image that didn’t quite fit my article’s tone. That was until I discovered the power of using midjourney to create blog images. It’s been a game-changer for my blog, allowing me to produce unique, high-quality visuals that enhance my content. I’m excited to share my experience with you, so you can ditch the boring stock photos and take your blog to the next level.
In this article, I’ll walk you through the step-by-step process of using midjourney to create stunning blog images. You’ll learn how to harness the power of AI to generate custom images that perfectly complement your content. I’ll share my personal tips and tricks for getting the most out of midjourney, from crafting the perfect prompt to optimizing your images for maximum impact. By the end of this guide, you’ll be equipped with the knowledge and skills to create amazing blog images that will elevate your online presence and engage your audience like never before.
Table of Contents
- Guide Overview: What You'll Need
- Step-by-Step Instructions
- Using Midjourney to Create Blog Images
- 5 Essential Tips for Mastering Midjourney Blog Images
- Key Takeaways for Creating Blog Images with Midjourney
- The Power of Midjourney
- Conclusion: Mastering Midjourney for Blog Images
- Frequently Asked Questions
Guide Overview: What You'll Need
Total Time: 1 hour 15 minutes
Estimated Cost: free – $10
Difficulty Level: Easy
Tools Required
- Computer (with internet connection)
- Midjourney Account (free or paid subscription)
- Image Editing Software (optional, e.g., Adobe Photoshop or Canva)
Supplies & Materials
- Text Prompts (for guiding Midjourney image generation)
- Brand Guidelines (for consistent branding in blog images)
Step-by-Step Instructions
- 1. First, let’s get started with setting up Midjourney – I know it sounds like a no-brainer, but trust me, it’s essential to get this right from the beginning. You’ll need to create an account on the Midjourney website, which is pretty straightforward, and then download the Discord app, as Midjourney is currently only accessible through Discord. Don’t worry if you’re not familiar with Discord; it’s easy to navigate, and you’ll get the hang of it in no time.
- 2. Once you’ve set up your Midjourney account and joined the Discord server, it’s time to learn the basics of Midjourney’s commands. This is where things can get a bit tricky, but stick with me. You’ll need to understand how to use the `/imagine` command, which is the foundation of creating images with Midjourney. The command will look something like `/imagine [your prompt] –v [version]`, and you can experiment with different versions to see what works best for your image.
- 3. Now that you know the basics, let’s talk about crafting the perfect prompt. This is where the magic happens, and your image starts to take shape. A good prompt should be clear and concise, and it’s essential to include any relevant details, such as the style, colors, or theme you’re aiming for. Don’t be afraid to get creative and try out different prompts to see what works best for your blog image.
- 4. With your prompt in hand, it’s time to generate your image. This is the exciting part, where you get to see your idea come to life. Once you’ve entered your prompt, Midjourney will start generating your image, and you’ll be able to see the progress in real-time. Keep in mind that this might take a few minutes, depending on the complexity of your prompt.
- 5. After your image has been generated, you’ll need to refine and edit it to get it just right. This is where you can make any necessary adjustments to the image, such as cropping or resizing. Midjourney also allows you to make adjustments to the image’s style, which can be a great way to give your image a unique touch.
- 6. Once you’re happy with your image, it’s time to download and optimize it for your blog. This is a crucial step, as you want to make sure your image is optimized for web use to avoid slowing down your website. You can use tools like TinyPNG or ImageOptim to compress your image and reduce its file size.
- 7. Finally, it’s time to upload your image to your blog and make it live. This is the final step in the process, and you’ll be able to see your brand-new image in all its glory. Make sure to double-check the image’s dimensions and ensure it’s displaying correctly on your blog, and you’re good to go.
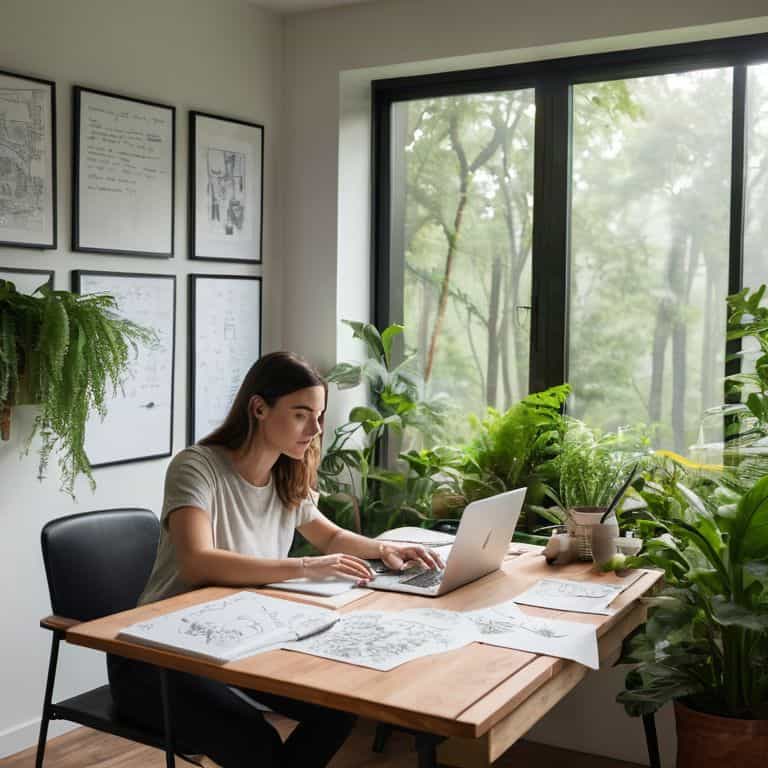
Using Midjourney to Create Blog Images
When it comes to creating engaging blog images, custom image generation tools like Midjourney can be a game-changer. I’ve found that midjourney prompt engineering is key to getting the best results – it’s all about crafting the right input to get the desired output. By experimenting with different prompts and fine-tuning my approach, I’ve been able to create unique and captivating images that elevate my blog posts.
One of the biggest advantages of using Midjourney is its ability to generate ai generated blog headers that are both visually striking and relevant to the content. To get the most out of this feature, I recommend optimizing midjourney outputs by adjusting parameters such as color palette, font style, and image composition. This helps ensure that the generated images align with my brand’s aesthetic and resonate with my audience.
While Midjourney is an incredibly powerful tool, it’s essential to understand its limitations. Understanding midjourney limitations is crucial to avoiding frustration and getting the most out of the platform. For instance, Midjourney can struggle with complex or abstract concepts, so it’s often better to use it for more concrete and visual ideas, such as midjourney for social media graphics. By being aware of these limitations and working within them, I’ve been able to create high-quality images that enhance my blog posts and social media presence.
Cutting Through Midjourney Prompt Engineering
Cutting Through Midjourney Prompt Engineering
When it comes to Midjourney, the prompt is key. I’ve found that being super specific helps – instead of “create a blog image,” try “create a blog image with a minimalist background and a bold, sans-serif font.” This gets you much closer to what you’re looking for. Experiment with different wording and see what works best for your style.
I also like to use online tools to help me craft the perfect prompt. It’s all about finding that balance between giving Midjourney enough information to work with, without being too restrictive. With a little practice, you’ll be creating pro-level blog images in no time.
Optimizing Ai Generated Blog Headers
To take your blog images to the next level, I recommend optimizing the AI-generated headers. This is where Midjourney really shines – with a little tweaking, you can create headers that are both visually stunning and perfectly capture the essence of your post. I’ve found that using descriptive prompts and specifying font styles can make a huge difference. For example, instead of just typing “header image,” try something like “minimalist header with a bold, sans-serif font and a subtle background texture.”
By doing so, you’ll get a header that’s not only more visually appealing but also better reflects your brand’s tone and style. Trust me, it’s worth the extra effort – a well-designed header can make or break the professionalism of your blog.
5 Essential Tips for Mastering Midjourney Blog Images
- Keep it simple: Don’t overcomplicate your prompts, focus on the core message you want to convey with your image
- Experiment with different styles: Midjourney can produce a wide range of visual styles, so don’t be afraid to try out new things and see what works best for your blog
- Use relevant keywords: Incorporate keywords from your blog post into your Midjourney prompts to improve image relevance and SEO
- Pay attention to image dimensions: Make sure your generated images are optimized for your blog’s layout and will display correctly on various devices
- Edit and refine: Don’t settle for the first generated image, use Midjourney’s editing tools or external image editors to refine and perfect your blog images
Key Takeaways for Creating Blog Images with Midjourney
By mastering Midjourney prompt engineering, you can significantly reduce the time and effort spent on creating high-quality blog images, allowing you to focus on what matters most – your content
Optimizing AI-generated blog headers is crucial for enhancing user experience and improving search engine rankings, as it directly impacts how your site is perceived by both visitors and search engines
Consistently creating engaging and relevant blog images using Midjourney can lead to increased reader engagement, improved brand recognition, and ultimately, a more professional online presence that reflects your discipline and attention to detail
The Power of Midjourney
For me, using Midjourney to create blog images isn’t just about slapping some text into a prompt and hoping for the best – it’s about understanding how to speak the language of AI in a way that unleashes your unique visual voice.
Leo Chen
Conclusion: Mastering Midjourney for Blog Images
In this guide, we’ve covered the essential steps for using Midjourney to create stunning blog images. From understanding the basics of Midjourney to cutting through prompt engineering and optimizing AI-generated blog headers, you now have the tools to elevate your blog’s visual content. By following these steps, you’ll be able to create images that not only capture your readers’ attention but also enhance their overall reading experience. Remember, the key to success lies in experimenting with different prompts and fine-tuning your approach to achieve the desired results.
As you continue to explore the possibilities of Midjourney, keep in mind that consistency is key to developing a unique visual brand for your blog. Don’t be afraid to try new things and push the boundaries of what’s possible with AI-generated images. With practice and patience, you’ll become proficient in creating blog images that are not only visually appealing but also tailored to your brand’s voice and style. So, go ahead and unleash your creativity – your readers will thank you, and your blog will thrive as a result.
Frequently Asked Questions
How do I ensure the images generated by Midjourney are optimized for web use and don't slow down my website?
To keep your site speedy, I recommend exporting Midjourney images in WebP format and compressing them using tools like TinyPNG. This slashes file sizes without sacrificing quality, ensuring your blog loads quickly and efficiently.
Can I use Midjourney to create images that match my existing brand style and tone?
Absolutely, you can use Midjourney to create images that match your brand style and tone. To do this, simply include specific brand keywords in your prompts, like colors, fonts, or textures. This helps Midjourney understand your visual identity and generate images that fit your brand’s aesthetic.
Are there any potential copyright or licensing issues I should be aware of when using Midjourney to generate images for my blog?
Honestly, copyright and licensing with AI-generated images can be a gray area. When using Midjourney, it’s essential to understand that the output is based on your prompt, but the underlying models and training data may be copyrighted. To be safe, I recommend using the generated images for personal, non-commercial purposes or exploring Midjourney’s licensing options to avoid any potential issues.