I still remember the first time I tried to how to install wordpress for my school’s website – it was a daunting task that left me feeling frustrated and confused. The common myth that you need to be a tech genius to get WordPress up and running is simply not true. In reality, installing WordPress is a straightforward process that can be accomplished by following a few simple steps. I’ve seen many of my students and readers struggle with this very issue, and I’m excited to share my expertise with you.
In this article, I’ll walk you through the no-nonsense process of how to install wordpress, providing you with practical advice and step-by-step guidance. You’ll learn how to navigate the installation process with ease, and by the end of this guide, you’ll have a fully functional WordPress site up and running. I’ll share my personal tips and tricks for avoiding common pitfalls and ensuring a smooth installation. So, if you’re ready to get started and take the first step towards creating your own website, let’s dive in and make it happen.
Table of Contents
- Guide Overview: What You'll Need
- Step-by-Step Instructions
- Installing WordPress Made Easy
- 5 Essential Tips for a Smooth WordPress Installation
- 3 Key Takeaways from Installing WordPress
- Embracing Simplicity in WordPress Installation
- You Did It: A Successful WordPress Installation
- Frequently Asked Questions
Guide Overview: What You'll Need
Total Time: 1 hour 30 minutes
Estimated Cost: $0 – $10
Difficulty Level: Easy
Tools Required
- Computer (with internet connection)
- Text Editor (such as Notepad or TextEdit)
- FTP Client (such as FileZilla)
Supplies & Materials
- Domain Name (registered and configured)
- Web Hosting Service (with PHP and MySQL support)
- WordPress Installation Package (downloaded from wordpress.org)
Step-by-Step Instructions
- 1. First, let’s get started with the basics: you’ll need to download the WordPress software from the official WordPress website. This is a straightforward process that requires you to click on the download button and wait for the file to save to your computer. Make sure you’re downloading the correct version – we’re looking for the latest stable release.
- 2. Next, you’ll need to create a database for your WordPress installation. This is where all your website’s data will be stored, so it’s an important step. You can do this using a tool like phpMyAdmin, which is usually provided by your web hosting service. Don’t worry if this sounds technical – it’s actually quite simple once you get the hang of it.
- 3. Now it’s time to upload the WordPress files to your website using a file transfer protocol (FTP) client. You can use a free service like FileZilla for this. Simply connect to your website, navigate to the folder where you want to install WordPress, and upload the files. This might take a few minutes, depending on the speed of your internet connection.
- 4. With the files uploaded, you can now configure the database settings in the WordPress installation script. This involves creating a configuration file that tells WordPress how to connect to your database. You’ll need to enter your database name, username, password, and host – all of which can be found in your web hosting control panel.
- 5. Once you’ve saved the configuration file, you can run the WordPress installation script by navigating to your website in a web browser. This will launch the installation process, which involves setting up your website’s basic configuration, including the site title, administrator username, and password. Make sure you choose a strong password to keep your site secure.
- 6. After the installation script has finished running, you’ll be able to log in to your WordPress dashboard using the username and password you created in the previous step. This is where you can start customizing your website, installing themes and plugins, and creating content. Don’t worry if it looks a bit overwhelming at first – you’ll get used to it in no time.
- 7. Finally, let’s secure your WordPress installation by changing the default settings and configuring some basic security features. This includes things like limiting login attempts, updating your password regularly, and installing a security plugin to protect against malware and other threats. By following these steps, you’ll be well on your way to creating a safe and secure website that you can be proud of.
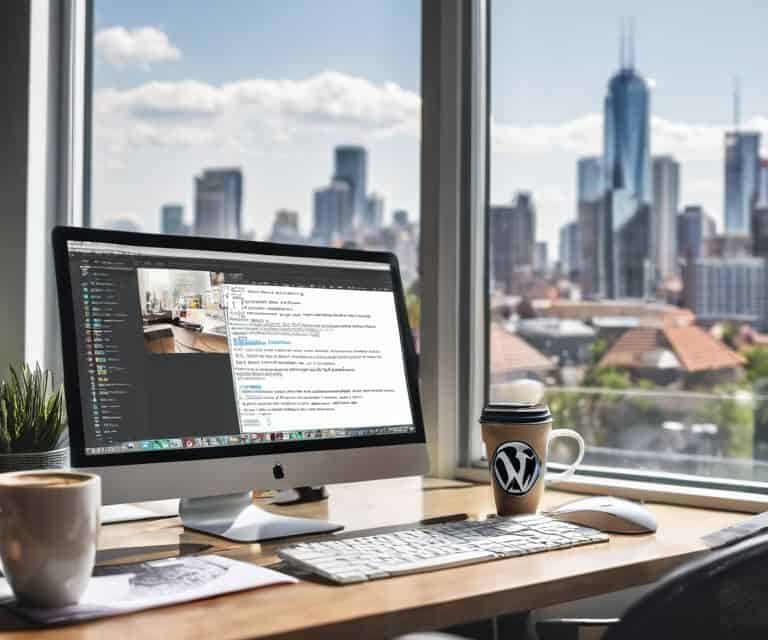
Installing WordPress Made Easy
When it comes to manual wordpress setup, it’s essential to understand the importance of wordpress database configuration. This step can seem daunting, but trust me, it’s a crucial part of the process. By taking the time to configure your database correctly, you’ll be setting yourself up for a smooth and secure blogging experience.
As you work through the installation process, keep in mind that configuring wordpress permalinks is a key step in making your site user-friendly and search engine optimized. Take a few minutes to understand how permalinks work and how to set them up correctly. It’s a small detail that can make a big difference in the long run.
To ensure your site is secure and running efficiently, consider implementing wordpress security best practices from the outset. This includes simple steps like choosing a strong password and keeping your software up to date. By following these best practices, you’ll be protecting your site from potential threats and optimizing wordpress performance for a better user experience.
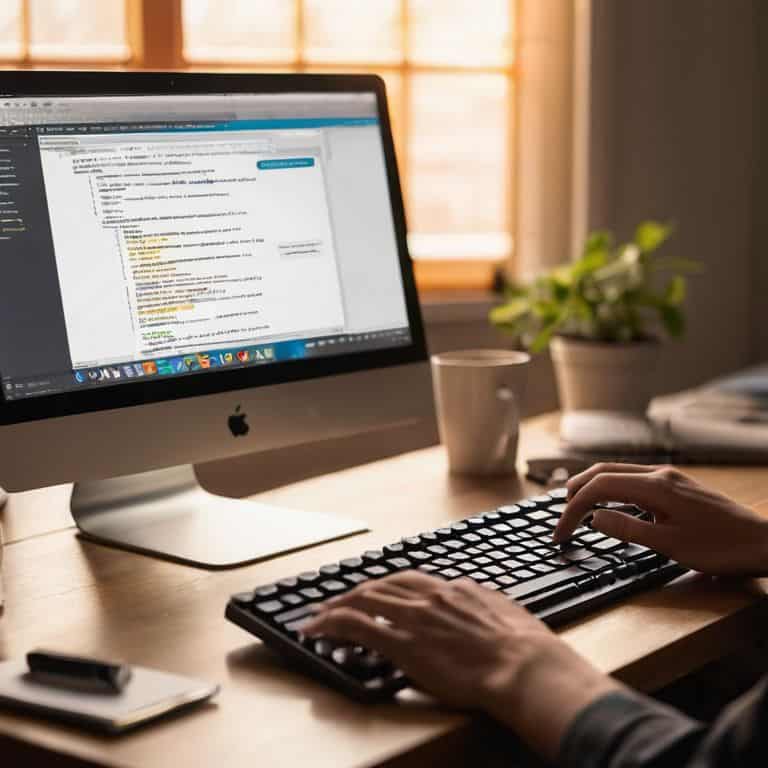
Manual WordPress Setup on Linux
Now that we’ve covered the easy installation methods, let’s dive into something a bit more advanced: manual WordPress setup on Linux. If you’re comfortable with the command line, this method gives you total control over the installation process.
To start, you’ll need to download the WordPress package from the official website and upload it to your Linux server. From there, you’ll create a database and user, then configure the wp-config.php file to connect to your database. It’s a bit more involved, but don’t worry, I’ll walk you through each step.
WordPress Database Configuration Simplified
Now that we’ve covered the basics of manual WordPress setup on Linux, let’s dive into the database configuration. This is often the part where people get stuck, but don’t worry, it’s easier than you think. You’ll need to create a new database and user, then grant the user privileges to access the database. Think of it like setting up a new user account on your computer – you need to give them the right permissions to access the files they need.
I like to break it down into simple steps: create the database, create the user, and then link them together. You can do this using a tool like phpMyAdmin, which makes it easy to manage your databases. Just remember to take note of your database name, username, and password – you’ll need these later when you’re configuring WordPress.
5 Essential Tips for a Smooth WordPress Installation
- Choose the right web hosting service that meets WordPress’s minimum requirements for a hassle-free installation
- Select a domain name that reflects your brand and is easy for visitors to remember, as it will be the face of your website
- Create a strong and unique password for your WordPress admin account to ensure the security of your site
- Make sure to configure your WordPress database correctly, including setting up a new database user with the necessary permissions
- Take advantage of the 1-click WordPress installation options offered by many web hosts to simplify the process and get started with your website quickly
3 Key Takeaways from Installing WordPress
By following a simple, step-by-step guide, you can easily install WordPress and start building your website, even if you have no prior technical experience
Manual WordPress setup on Linux can be straightforward when you understand the process, and configuring your WordPress database is a crucial step that can be simplified with the right approach
With the right guidance and a patient mindset, anyone can successfully install and set up WordPress, regardless of their technical background, and start creating content that resonates with their audience
Embracing Simplicity in WordPress Installation
The beauty of installing WordPress lies not in its complexity, but in the simplicity and clarity of the process – with the right guide, anyone can turn their ideas into a vibrant online presence.
David Grant
You Did It: A Successful WordPress Installation
As we’ve gone through this guide, you’ve learned how to install WordPress with ease, whether you chose the manual route or decided to go with a simpler method. We broke down the process into manageable steps, from setting up your database to configuring your WordPress files. You’ve also seen how to simplify your WordPress database configuration, making the whole process less daunting. By following these steps, you’ve taken a significant leap towards launching your very own website.
Now that you’ve completed the installation, it’s time to think about what comes next. Remember, the key to mastering WordPress, or any other platform, is to be consistent and patient. Don’t be afraid to experiment and try new things – it’s all part of the learning process. As you start building your website, keep in mind that you have the power to create something amazing. Your new website is a blank canvas, waiting for your ideas and creativity to shine through. So, go ahead, get creative, and make your mark on the digital world!
Frequently Asked Questions
What are the system requirements for installing WordPress?
To install WordPress, you’ll need a few basic things: a domain name, web hosting, and a database. Don’t worry, I’ll break it down simply. Your web host should have PHP 7.4 or higher, MySQL 5.6 or higher, and at least 1GB of RAM. Most hosts meet these requirements, but it’s always good to check.
How do I choose the right database settings for my WordPress installation?
When choosing database settings, don’t worry if it sounds techy – it’s simpler than you think. You’ll need to decide on a database name, username, and password. Think of it like setting up a new email account: you choose a username and password, and WordPress does the rest. I like to use a descriptive name for my database, like “myblog_db”, to keep things organized.
What are the most common mistakes to avoid during the WordPress installation process?
Now that we’ve covered the installation process, let’s talk about common pitfalls to avoid. I’ve seen many beginners trip up on simple mistakes, such as incorrect database settings or forgetting to update their site’s URL. To steer clear of these issues, make sure to double-check your database credentials and update your site’s URL in the WordPress settings.