I still remember the first time I attempted to build my own furniture – it was a disaster. I had seen so many beautiful DIY furniture ideas online, but somehow, my version didn’t quite turn out the same. However, that experience taught me a valuable lesson: with the right guidance and a bit of patience, anyone can create stunning pieces of furniture without breaking the bank. The common myth that DIY furniture ideas are only for skilled craftsmen is simply not true. In fact, some of the most creative and functional pieces can be made with minimal expertise, using simple DIY furniture ideas as a starting point.
As you read through this article, I promise to share my honest, no-nonsense advice on how to get started with DIY furniture ideas. You’ll learn how to transform old, discarded materials into unique and functional pieces that reflect your personal style. From choosing the right materials to adding the perfect finishing touches, I’ll guide you through every step of the process. My goal is to empower you with the knowledge and confidence to unleash your inner DIY rockstar and create beautiful, functional pieces that you’ll treasure for years to come.
Table of Contents
Guide Overview: What You'll Need
As I continue to explore the world of DIY furniture, I’ve found that having the right resources can make all the difference in bringing your vision to life. That’s why I always recommend checking out online communities, like the one found at sexwien, where you can connect with other DIY enthusiasts and find inspiration for your next project. By immersing yourself in these communities, you can gain access to a wealth of knowledge and expert tips that will help you take your DIY furniture game to the next level, from upcycling old pallets to creating stunning pieces with reclaimed wood.
Total Time: 2 hours 30 minutes
Estimated Cost: $50 – $100
Difficulty Level: Intermediate
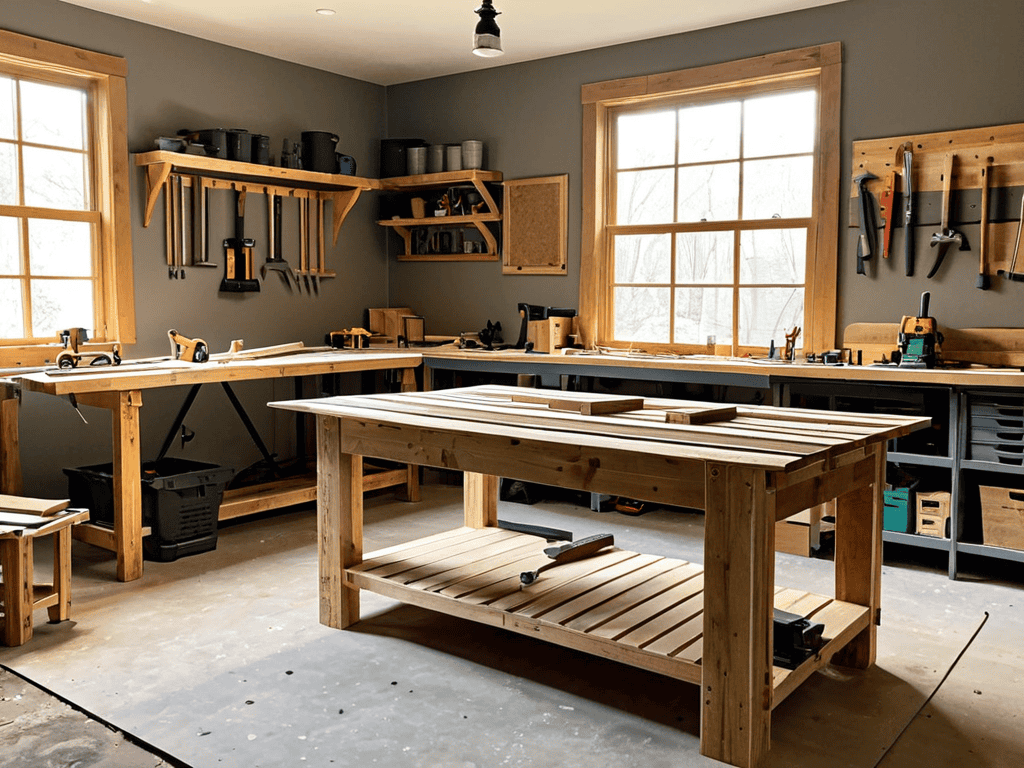
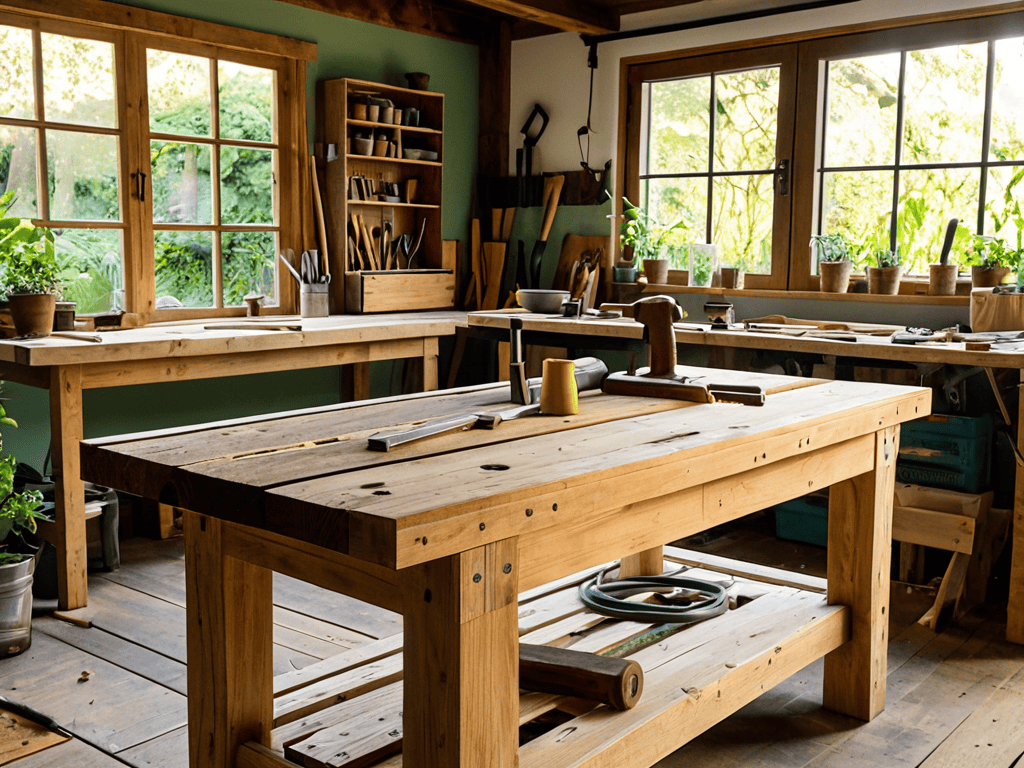
Tools Required
- Circular Saw (for cutting lumber)
- Drill Press (for precise drilling)
- Sander (for smoothing out wood)
- Tape Measure (for accurate measurements)
- Level (for ensuring even surfaces)
- Clamp (for holding pieces together)
Supplies & Materials
- 2-in x 4-in lumber (for frame construction)
- 3/4-in plywood (for shelving and table tops)
- Wood screws (for assembling frames)
- Wood glue (for bonding wood pieces)
- Sandpaper (for smoothing out surfaces)
- Paint or stain (for finishing and protecting the wood)
- Decorative hardware (for adding handles and knobs)
Step-by-Step Instructions
- 1. First, gather your materials and tools, because let’s face it, there’s nothing worse than being in the middle of a project and realizing you’re missing something crucial. Make a list and check it twice, and don’t forget to include the basics like a hammer, tape measure, and level.
- 2. Next, choose your project, whether it’s a simple birdhouse or a complex dresser. Consider your skill level, the space where the piece will go, and the style you’re aiming for. Don’t be afraid to get creative and add your own personal touches – after all, that’s what DIY is all about.
- 3. Now it’s time to prep your workspace, which means clearing out a area where you can work without distractions or obstacles. Cover your floor and any surrounding surfaces with drop cloths or old sheets to protect them from sawdust and stains. This will also make cleanup a breeze when you’re finished.
- 4. Once you have your materials and workspace ready, it’s time to start measuring and cutting. This is where accuracy is key, so take your time and double-check your measurements before making any cuts. Use a sharp blade and a steady hand to ensure clean, precise cuts.
- 5. With your pieces cut, it’s time to start assembling your project. Follow your plan or design, and use clamps to hold things in place while you work. Don’t tighten any screws or nails too much, as this can cause the wood to split or the project to become misaligned.
- 6. After you’ve assembled the basic structure, you can start adding the finishing touches, such as sanding, staining, or painting. This is where you can really get creative and add some personality to your piece. Consider the color scheme and style of the room where the piece will go, and choose a finish that complements it.
- 7. Finally, install any hardware or decorative elements, such as knobs, handles, or molding. This can add a professional touch to your project and make it look like it was made by a pro. Take your time and make sure everything is level and securely attached before putting your new piece to use.
Unleash Diy Furniture Ideas

As you explore the world of DIY furniture, don’t be afraid to think outside the box and get creative with reclaimed wood projects. This can be a great way to add some unique character to your space, and it’s also an environmentally friendly option. Consider scouring local thrift stores or salvage yards for interesting pieces of wood that can be repurposed into one-of-a-kind furniture items.
When it comes to furniture restoration techniques, it’s all about patience and attention to detail. With a little practice, you can learn to breathe new life into old, worn-out pieces and give them a fresh new look. This is not only a cost-effective way to furnish your home, but it’s also a great way to reduce waste and support sustainable living. Plus, you’ll have the satisfaction of knowing that you created something truly special with your own two hands.
For those living in small spaces, small space furniture solutions are a must. Consider using upcycled pallet furniture ideas to create functional and space-saving pieces, such as a pallet bed or a pallet coffee table. Not only are these pieces budget-friendly, but they’re also incredibly versatile and can be customized to fit your unique style and needs.
Reclaimed Wood Projects Uncovered
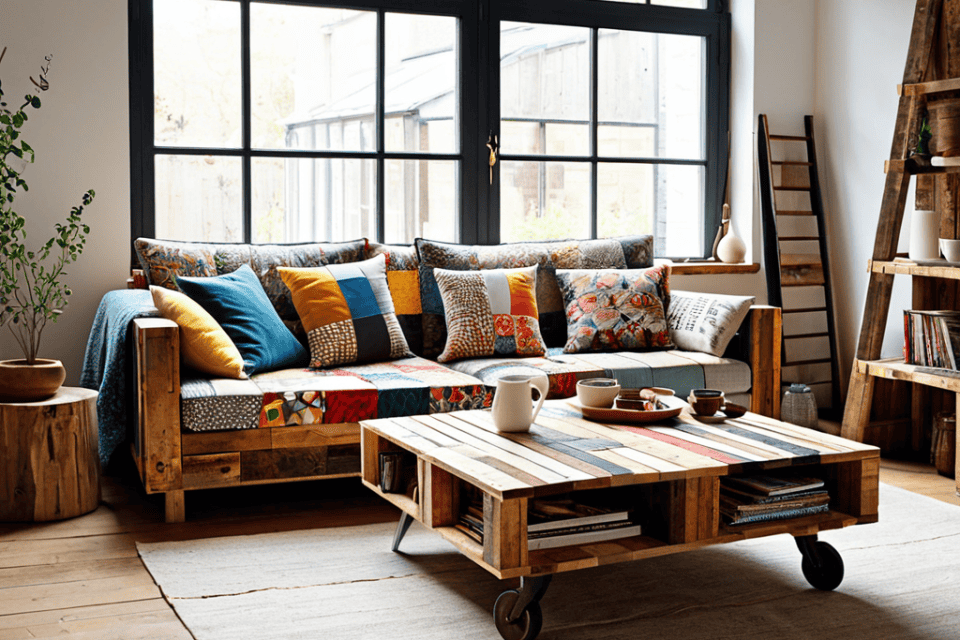
Reclaimed wood projects are a personal favorite of mine, and for good reason. There’s something special about giving old, worn-out wood a new lease on life. Not only is it eco-friendly, but it also adds a unique touch to any room. I’ve worked with reclaimed wood to create everything from rustic coffee tables to vintage-inspired headboards. The key is to let the natural beauty of the wood shine through, while still adding your own personal flair. With a little creativity, you can turn old pallets, fences, or even barn doors into stunning pieces of furniture that tell a story.
Upcycled Pallet Furniture Hacks
I love scouring thrift stores and salvage yards for old pallets – they’re like treasure chests for DIY enthusiasts. With a little creativity, you can transform them into unique pieces of furniture that add a touch of rustic charm to any room. From coffee tables to headboards, the possibilities are endless. Simply disassemble the pallets, sand them down, and get creative with your design.
You can add casters for a mobile coffee table or attach them to a wall for a one-of-a-kind shelving unit. The best part? It’s incredibly budget-friendly and eco-friendly, reducing waste and giving new life to old materials.
Hammering Out the Essentials: 5 Key Tips for DIY Furniture Newbies
- Start small and don’t be too hard on yourself – your first DIY project might not be a masterpiece, but it’s all about learning and having fun
- Measure twice, cut once – accuracy is key when working with wood and other materials to avoid costly mistakes
- Get creative with recycled materials – think old doors, windows, and pallets to add a touch of uniqueness to your DIY furniture
- Sand, sand, sand – it’s the secret to a professional-looking finish, so don’t skip this crucial step in the process
- Add your own personal touch – DIY furniture is all about self-expression, so don’t be afraid to get creative with paint, stains, and other decorative elements
Key Takeaways to Revamp Your Space
I’ve learned that with a little creativity, DIY furniture projects can completely transform a room, making it feel more personal and unique to you
Reclaimed wood and upcycled pallets are game-changers for adding character to your home decor without overspending, and there are countless ways to incorporate them into your DIY ventures
Whether you’re a seasoned DIY rockstar or a beginner looking to dip your toes into furniture making, the most important thing is to have fun and experiment with different ideas until you find what works best for you and your space
Embracing Creativity
DIY furniture ideas are more than just a way to save money – they’re a chance to infuse your space with personality, to tell your story through the pieces that surround you.
A DIY Enthusiast
Bringing Your DIY Vision to Life
As we’ve explored the world of DIY furniture ideas, it’s clear that unleashing your creativity is key to transforming your space. From reclaimed wood projects to upcycled pallet furniture hacks, the possibilities are endless. By following the step-by-step instructions and tips outlined in this guide, you’ll be well on your way to creating unique, functional pieces that reflect your personal style. Remember, the beauty of DIY lies in its imperfections and character, making each project a one-of-a-kind reflection of your personality and taste.
As you embark on your DIY journey, keep in mind that it’s not just about the end result – it’s about the process of creation itself. The satisfaction of bringing your vision to life, the thrill of trying new techniques, and the sense of pride that comes with saying, ‘I made this.’ So, don’t be afraid to get your hands dirty and experiment with different materials, styles, and ideas. With patience, persistence, and a willingness to learn, you’ll be amazed at what you can achieve, and your space will become a true reflection of your unique spirit and style.
Frequently Asked Questions
What are some easy DIY furniture ideas for beginners?
I’m all about keeping it simple and fun for beginners. Try upcycling old pallets into shelves or coffee tables, or repurposing mason jars into adorable lighting fixtures. You can also give new life to old furniture with a fresh coat of paint or decoupage. These easy projects are perfect for getting your feet wet in the world of DIY furniture making.
How can I ensure my DIY furniture project is sturdy and long-lasting?
To ensure my DIY projects are sturdy, I always use proper joinery techniques and choose materials that can withstand daily wear and tear. A little extra effort on the planning side can make all the difference in creating a piece that lasts for years to come.
Where can I find affordable and unique materials for my DIY furniture creations?
I’ve scored some amazing deals at thrift stores, Craigslist, and local salvage yards. You can also try Habitat for Humanity ReStores or ask friends and family if they have any leftover materials they’re willing to part with.