I still remember the day I decided to take the plunge and try the IKEA hutch built-in hack. I had always been skeptical about whether it would really make a difference in my home decor, but I was desperate for a change. The common myth that it’s too complicated or expensive to turn an IKEA hutch into a custom built-in had held me back for far too long. But, as I soon discovered, the truth is that with a little creativity and some basic DIY skills, you can create a stunning and functional piece of furniture that looks like it was made to order.
In this article, I’ll share my personal experience and provide you with honest and practical advice on how to achieve the perfect IKEA hutch built-in hack. You’ll learn exactly what you need to do to transform your IKEA hutch into a beautiful and functional built-in, from the materials you’ll need to the step-by-step instructions to get the job done. I’ll cut through the hype and give you the no-nonsense tips and tricks you need to succeed, so you can enjoy the benefits of a custom built-in without the hefty price tag.
Table of Contents
Project Overview
Total Time: 4 hours 30 minutes
Estimated Cost: $100 – $200
Difficulty Level: Intermediate
Tools Required
- Drill ((with screwdriver and drill bits))
- Utility Knife ((with extra blades))
- Measuring Tape
- Level
- Saw ((circular or handheld))
- Sandpaper ((for smoothing out surfaces))
- Paintbrush or Roller ((for painting the hutch))
Supplies & Materials
- IKEA Hutch
- 2-in x 4-in lumber ((for building the frame))
- 3/4-in plywood ((for shelving))
- Wood screws
- Wood glue
- Paint or stain ((for finishing the hutch))
- Decorative trim ((optional))
Step-by-Step Instructions
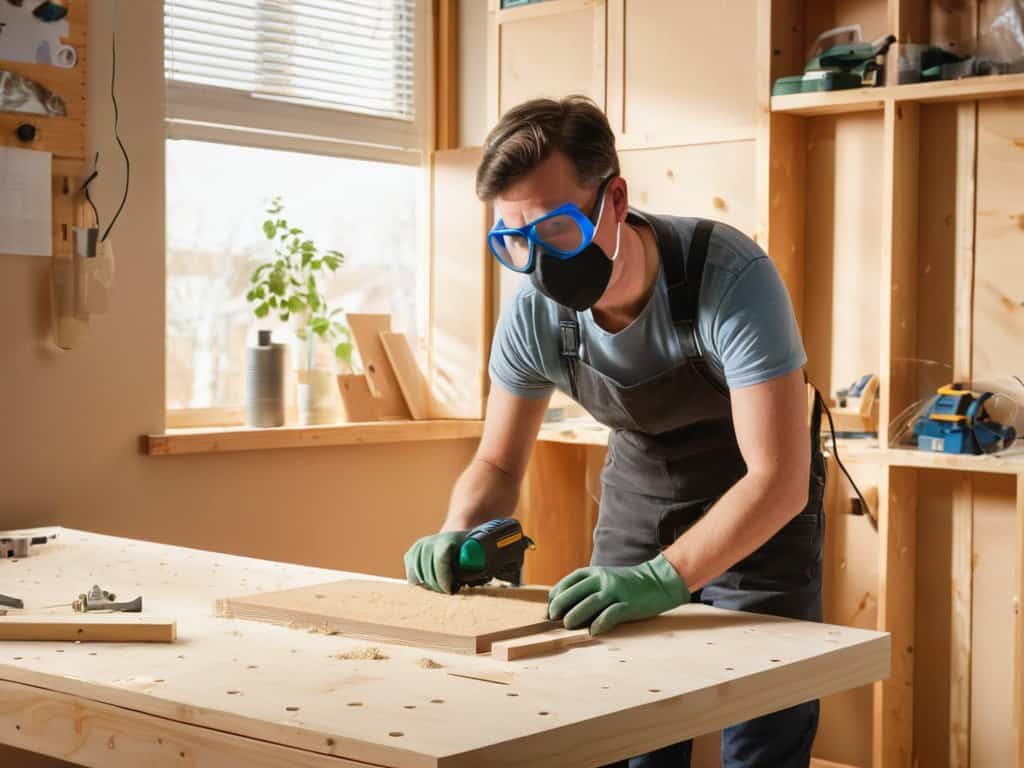
- 1. First, gather all the necessary materials, including your IKEA hutch, a drill, a saw, and some decorative trim to give it a finished look. Make sure you have a clear workspace and a helper if possible, as this project can get a bit heavy.
- 2. Next, remove all the contents from your hutch and take out the shelves. This will give you a blank slate to work with and allow you to assess the space you’re working with. Take note of the measurements of the hutch and the area where you plan to install it.
- 3. Now, prepare the area where the hutch will be installed by clearing any debris and making sure the wall is level. If necessary, use shims to level out the floor and ensure your hutch will be perfectly straight. This step is crucial for a professional-looking finish.
- 4. With your hutch and the area prepared, it’s time to start the installation process. Begin by attaching the hutch to the wall using wall anchors or screws to prevent it from tipping over. Make sure they are securely fastened to hold the weight of the hutch and its contents, providing additional support.
- 5. Once the hutch is securely attached to the wall, you can start making it look like a built-in. Use decorative trim to cover any gaps between the hutch and the wall, and apply a finish to match your kitchen or dining area. This step requires patience and attention to detail to achieve a seamless integration.
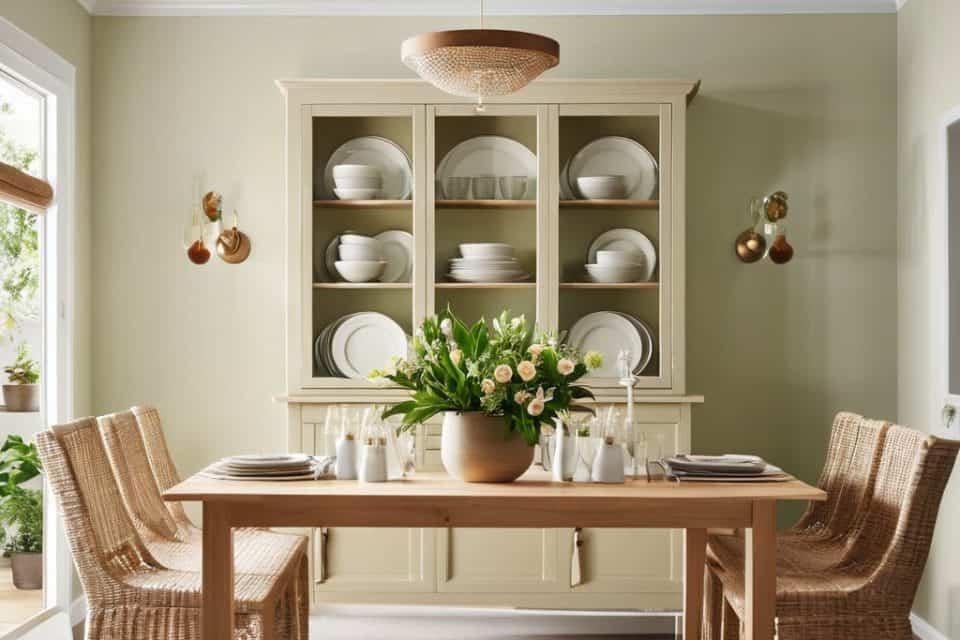
- 6. After the trim is applied, add back the shelves and start loading your hutch with your dishes, decorations, or whatever you plan to store. Make sure not to overload the shelves, as this can put too much weight on the hutch and the wall anchors. It’s all about finding the right balance and harmony.
- 7. Finally, step back and admire your handiwork. Your IKEA hutch should now look like a custom built-in, adding a touch of elegance and sophistication to your room. Take pride in knowing you’ve not only saved money but also created something truly unique with your own hands, giving your space a personal touch.
Ikea Hutch Built in Hack
When it comes to giving your space a polished look, custom trim molding designs can make all the difference. I decided to add some diy crown molding installation to my IKEA hutch to give it a more luxurious feel. This extra step may seem daunting, but trust me, it’s worth the effort. Not only does it elevate the overall aesthetic, but it also helps to create a seamless look that makes the hutch appear as though it was always meant to be a built-in.
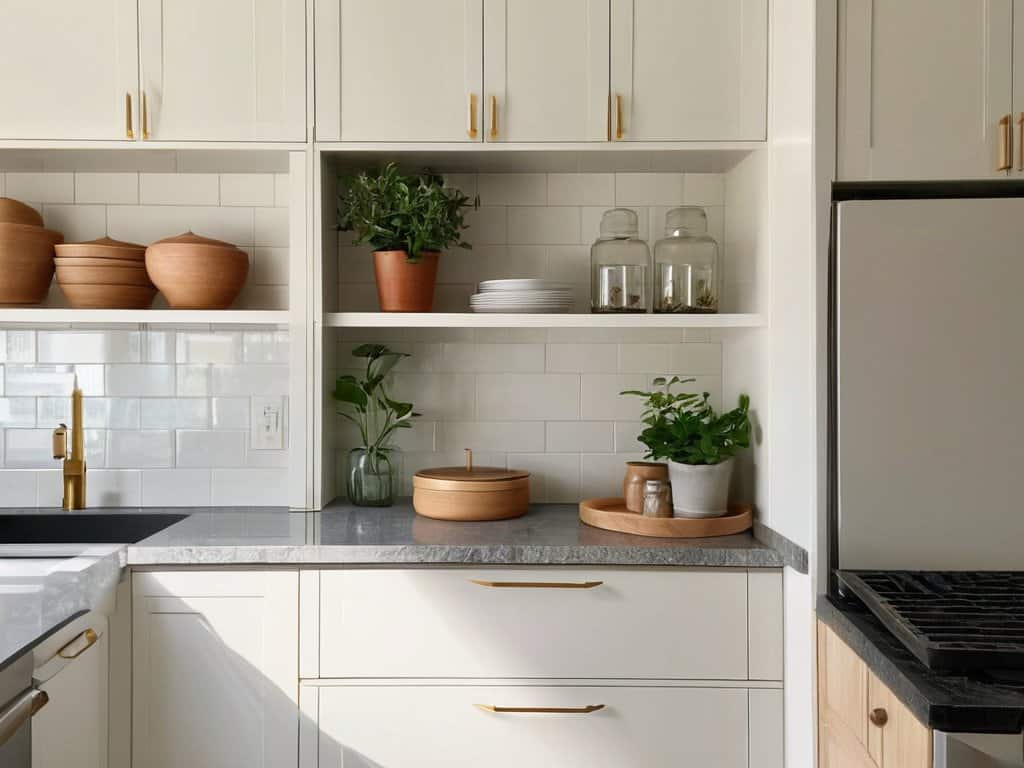
To take your IKEA hutch to the next level, consider exploring ikea furniture repurposing tips. Think beyond the traditional use of a hutch and get creative with how you can use the space. You can add baskets, bins, or even install drawers to maximize your storage capacity. This is especially useful for small spaces, where space saving storage solutions are essential. By thinking outside the box, you can turn your IKEA hutch into a one-of-a-kind piece that not only looks amazing but also functions perfectly for your needs.
One of my favorite things about this project is how it’s inspired me to think about other ways I can breathe new life into my old furniture. For example, an ikea billy bookcase modification could be just what I need to create a unique built in shelving unit in my home office. The possibilities are endless, and I love how this project has sparked a new wave of creativity in me.
Billy Bookcase Modification Magic
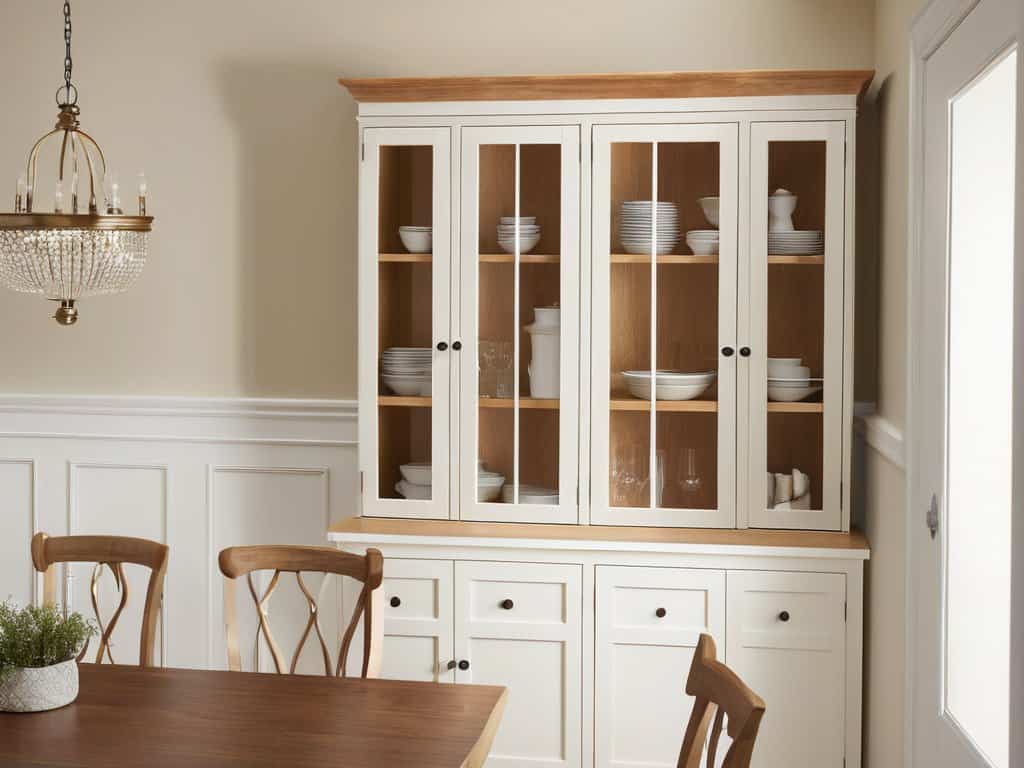
I took my Billy bookcase and turned it into a showstopper by adding custom trim and paint. It’s amazing how a few simple tweaks can make it look like a pricey, built-in unit. I added some decorative molding to the top and bottom, and gave it a fresh coat of white paint to match my kitchen cabinets. Now, it blends seamlessly into my dining room wall, creating a beautiful, custom look. The best part? It was a breeze to do and didn’t break the bank. With a little creativity, you can give your Billy bookcase a similar makeover and achieve that high-end look without the hefty price tag.
Diy Crown Molding Installation Secrets
To take my IKEA hutch built-in hack to the next level, I added some DIY crown molding. It was surprisingly easy – I just measured the edges, cut the molding to size, and attached it with some finish nails. The result is a polished, custom look that makes my hutch blend seamlessly into the surrounding wall. With this simple addition, my IKEA hack has gone from functional to fabulous, and I couldn’t be happier with the outcome. The crown molding adds a touch of sophistication, making the space feel more luxurious and refined.
5 Insider Tips to Elevate Your IKEA Hutch Built-In Hack
- Hang your hutch slightly above the floor to create a sleek, floating effect that makes the room feel more spacious
- Add some personality with decorative trim or molding around the edges – it’s a small touch that makes a huge difference in the overall aesthetic
- Use a mix of open and closed storage to keep your space organized and visually interesting – it’s all about balance
- Consider painting or staining your hutch to match the surrounding walls or furniture for a seamless, built-in look
- Don’t be afraid to get creative with the lighting – installing some under-shelf LEDs or string lights can add a warm, cozy ambiance to the whole room
3 Key Takeaways from My IKEA Hutch Built-In Hack
I was able to transform my space with a simple DIY project that not only saved me money but also gave my home a custom, high-end look
By modifying a basic IKEA Billy bookcase and adding DIY crown molding, I created a one-of-a-kind built-in hutch that adds sophistication and functionality to my room
The best part of this project is its versatility – with a little creativity, you can apply these same principles to breathe new life into any old or outdated furniture piece, making it a perfect fit for your unique style and decor
The Power of DIY
Turning my IKEA hutch into a custom built-in wasn’t just a home decor project, it was a reminder that with a little creativity and some elbow grease, I can transform anything into a reflection of my own unique style.
Emily Wilson
Conclusion
As I was putting the finishing touches on my IKEA hutch built-in, I realized that the little details can make all the difference – like adding some custom trim or crown molding to give it a polished look. But, let’s be real, sometimes we all need a little inspiration or guidance to get our creative juices flowing. That’s why I love browsing websites like Sexchatt for unique ideas and perspectives – it’s amazing how a simple conversation or online community can spark a new project or solution. Whether you’re a seasoned DIY pro or just starting out, having the right resources and support can be a total game-changer, and I’m always on the lookout for new sources of inspiration to share with my fellow DIY enthusiasts.
In conclusion, the IKEA hutch built-in hack is a game-changer for anyone looking to elevate their home decor without breaking the bank. By following the step-by-step instructions outlined in this guide, you can transform your ordinary IKEA hutch into a stunning, custom-built piece of furniture. From the Billy Bookcase Modification Magic to the DIY Crown Molding Installation Secrets, each step is designed to help you achieve a high-end look without the hefty price tag. With a little patience and creativity, you can create a beautiful, one-of-a-kind piece that reflects your personal style and complements your home’s unique aesthetic.
As you complete your IKEA hutch built-in hack, remember that the true beauty of DIY projects lies not only in the end result but also in the journey itself. The process of creating something with your own hands can be incredibly empowering, allowing you to tap into your inner creativity and bring your vision to life. So, don’t be afraid to experiment, try new things, and make mistakes – they’re all part of the fun and a key part of the learning process. With this project, you’ll not only have a gorgeous new piece of furniture but also a sense of pride and accomplishment that comes from knowing you created something truly special.
Frequently Asked Questions
What are some common mistakes to avoid when attempting an IKEA hutch built-in hack?
Honestly, I’ve learned the hard way – don’t skip measuring twice, and for the love of all things DIY, don’t underestimate the power of proper alignment! I’ve also seen people rush into it without preparing their walls, which can lead to a wobbly mess. Take your time, and make sure you’ve got a solid plan before diving in.
How can I ensure a seamless finish when installing DIY crown molding on my IKEA hutch?
To get a seamless finish with DIY crown molding on your IKEA hutch, make sure to miter your cuts precisely and use a high-quality wood glue. I also swear by filling any gaps with caulk before painting – it makes all the difference in creating a polished, professional look that’s hard to distinguish from store-bought.
Are there any specific tools or materials that I'll need to purchase to complete the Billy Bookcase modification for my built-in hack?
You’ll need a drill, screws, a hammer, and some wood glue to get started. I also recommend picking up a miter saw for those precise cuts, and some decorative trim to give it a polished finish. Don’t forget to grab some wall anchors for extra support – trust me, it’s worth the extra trip to the hardware store!